Whether your Google Assistant speaker is made by Google or a third-party manufacturer, setup is the same.
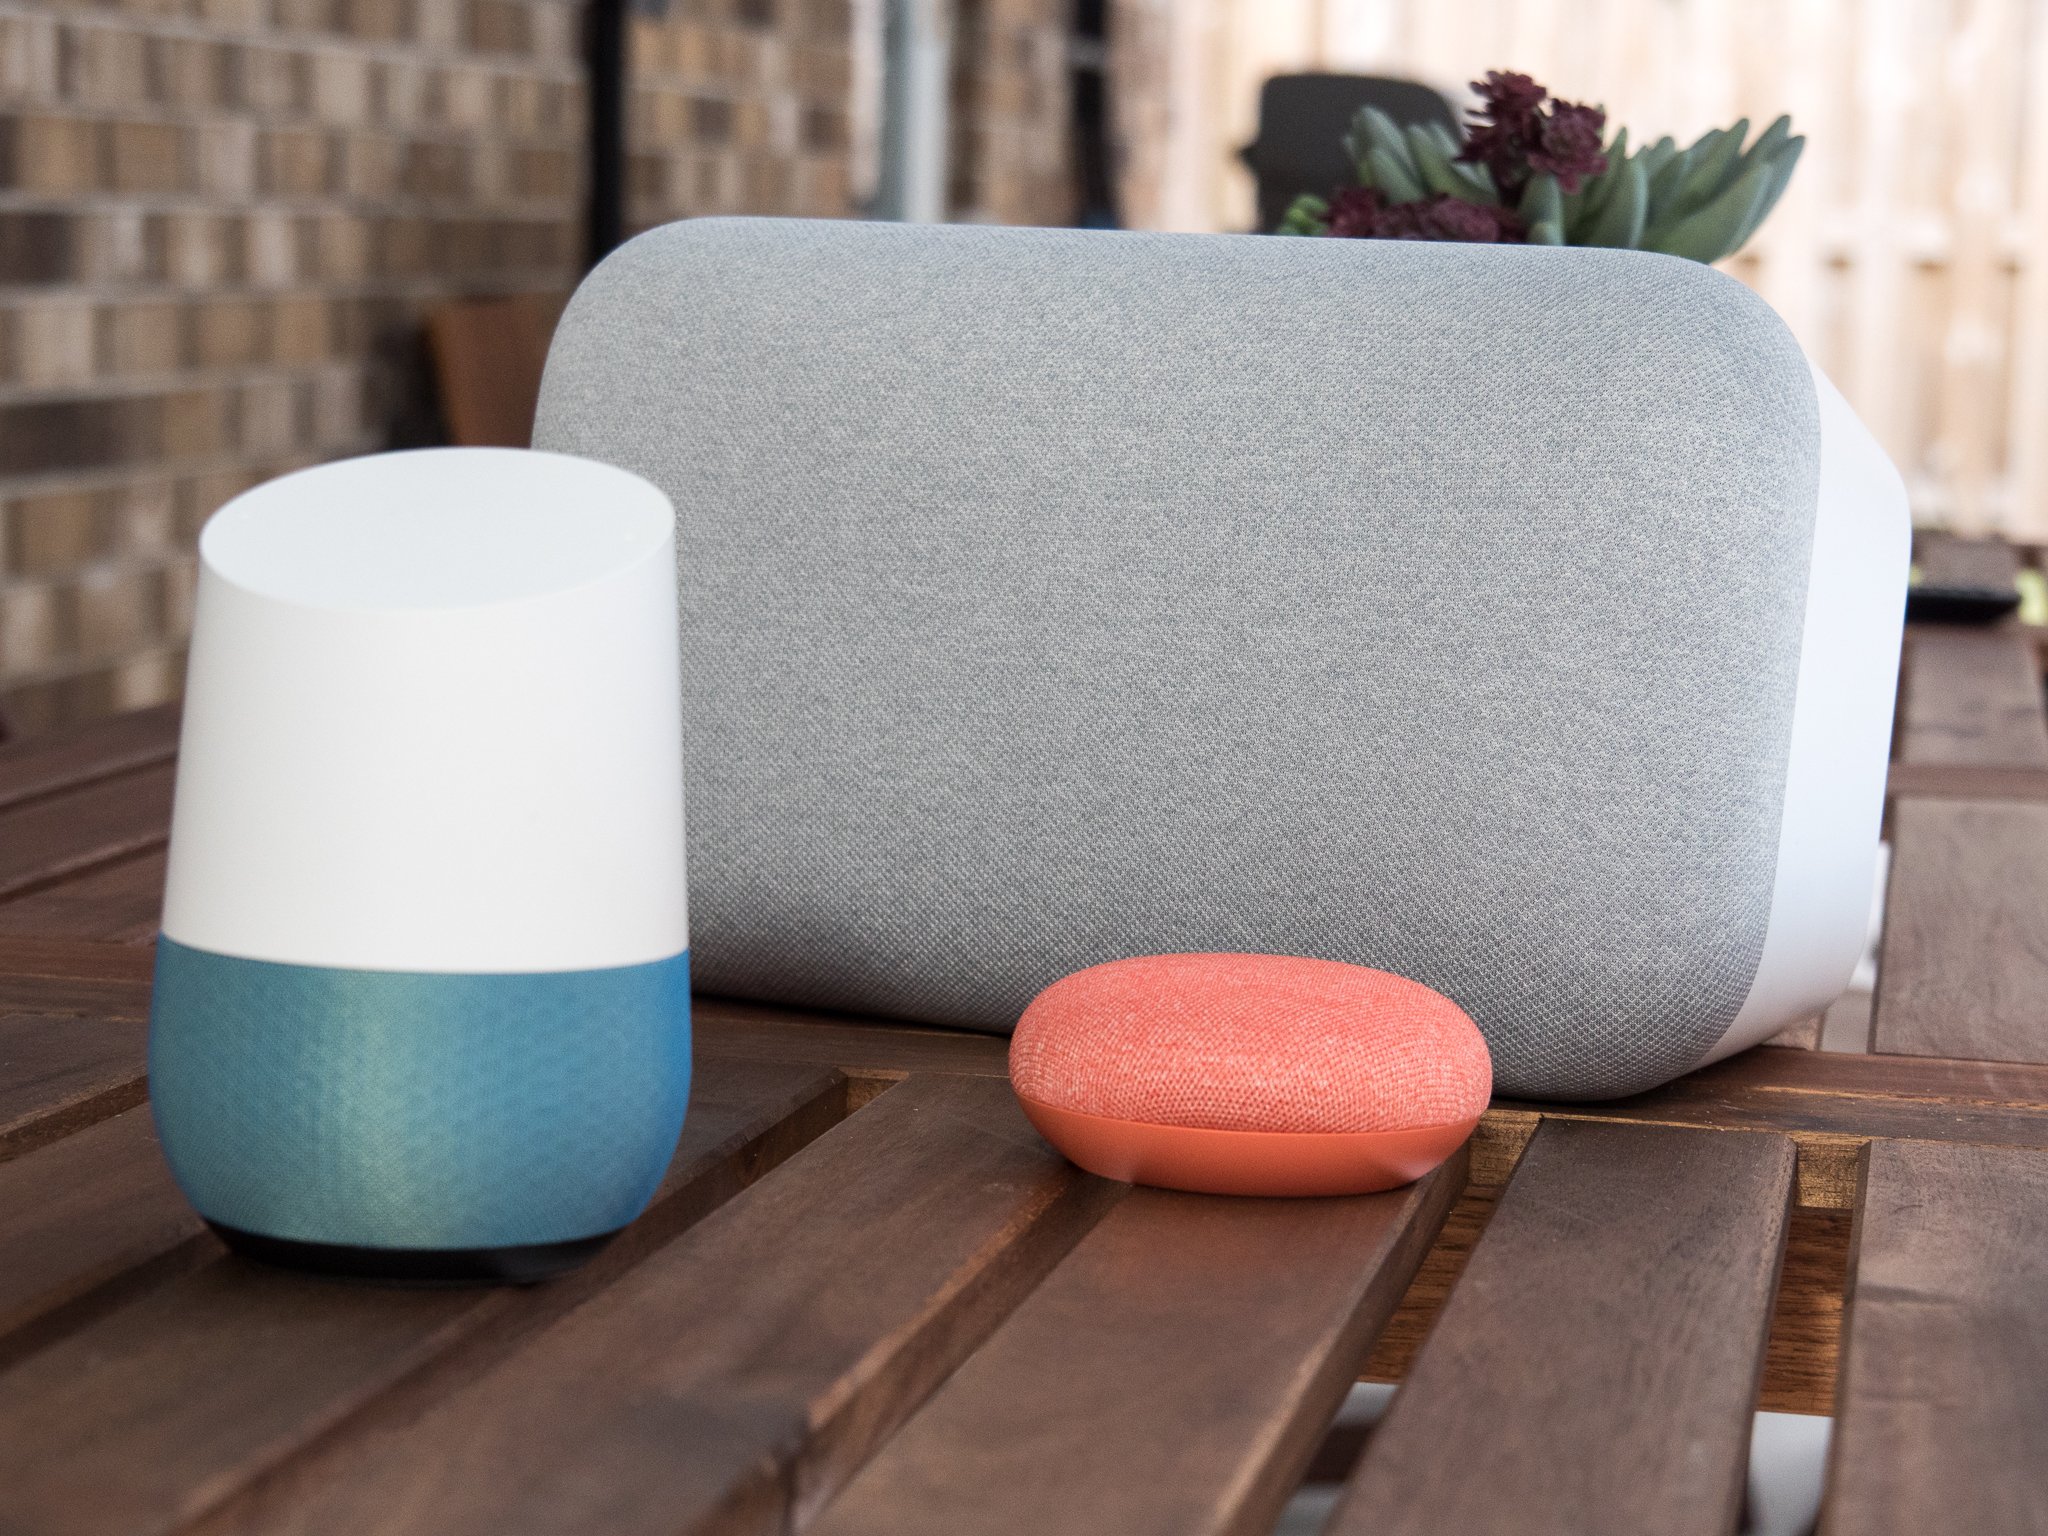
Once upon a time, the only way to get Google Assistant into your home was with a Google Home, but now, there are dozens of speakers with Google Assistant built in! From the cute, little Google Nest Mini to the roof-raising Sony XB501G, setting up any Google Assistant speaker uses the same, simple app and the same, simple process.
How to set up a Google Home or other Google Assistant speaker
- Plug the power cord into the base of your Google Assistant speaker.
- Plug the power adapter into an outlet. The unit will automatically boot up, introducing itself and directing you to the Google Home app to finish setup.
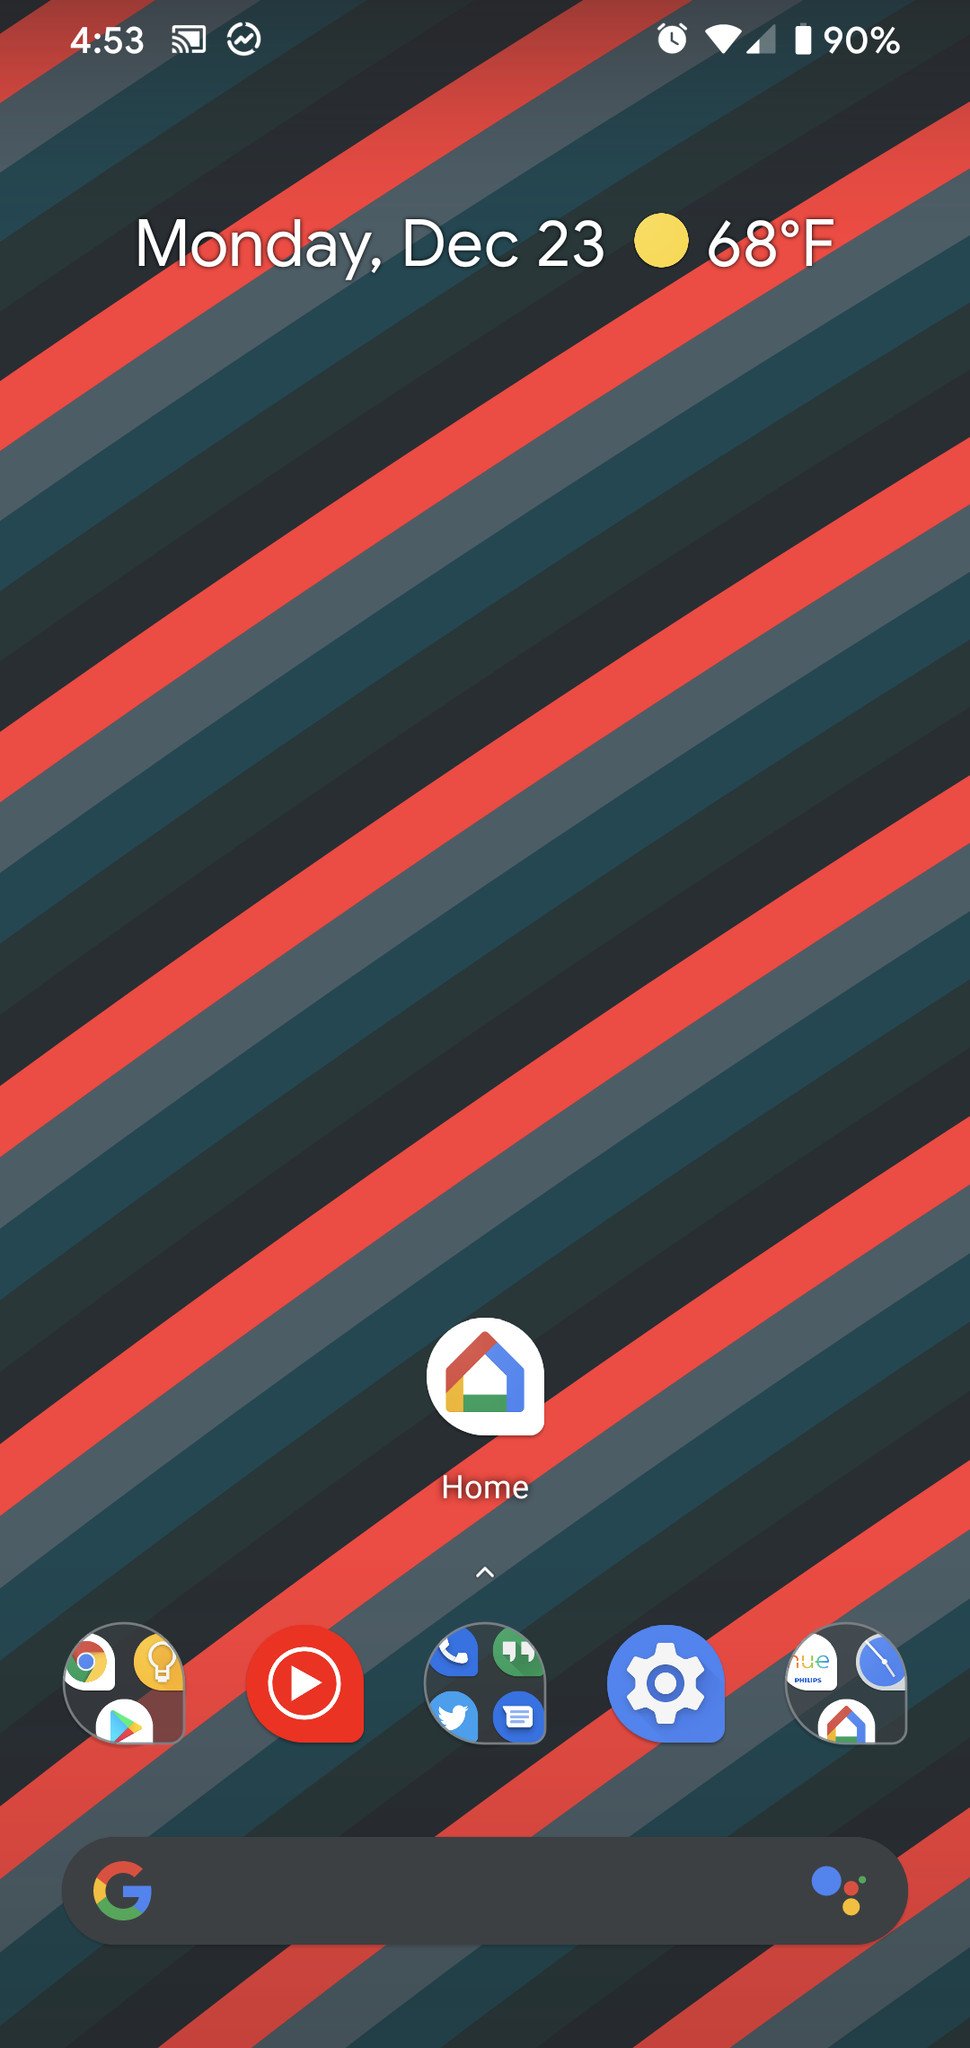
- Open the Google Home app on your phone.
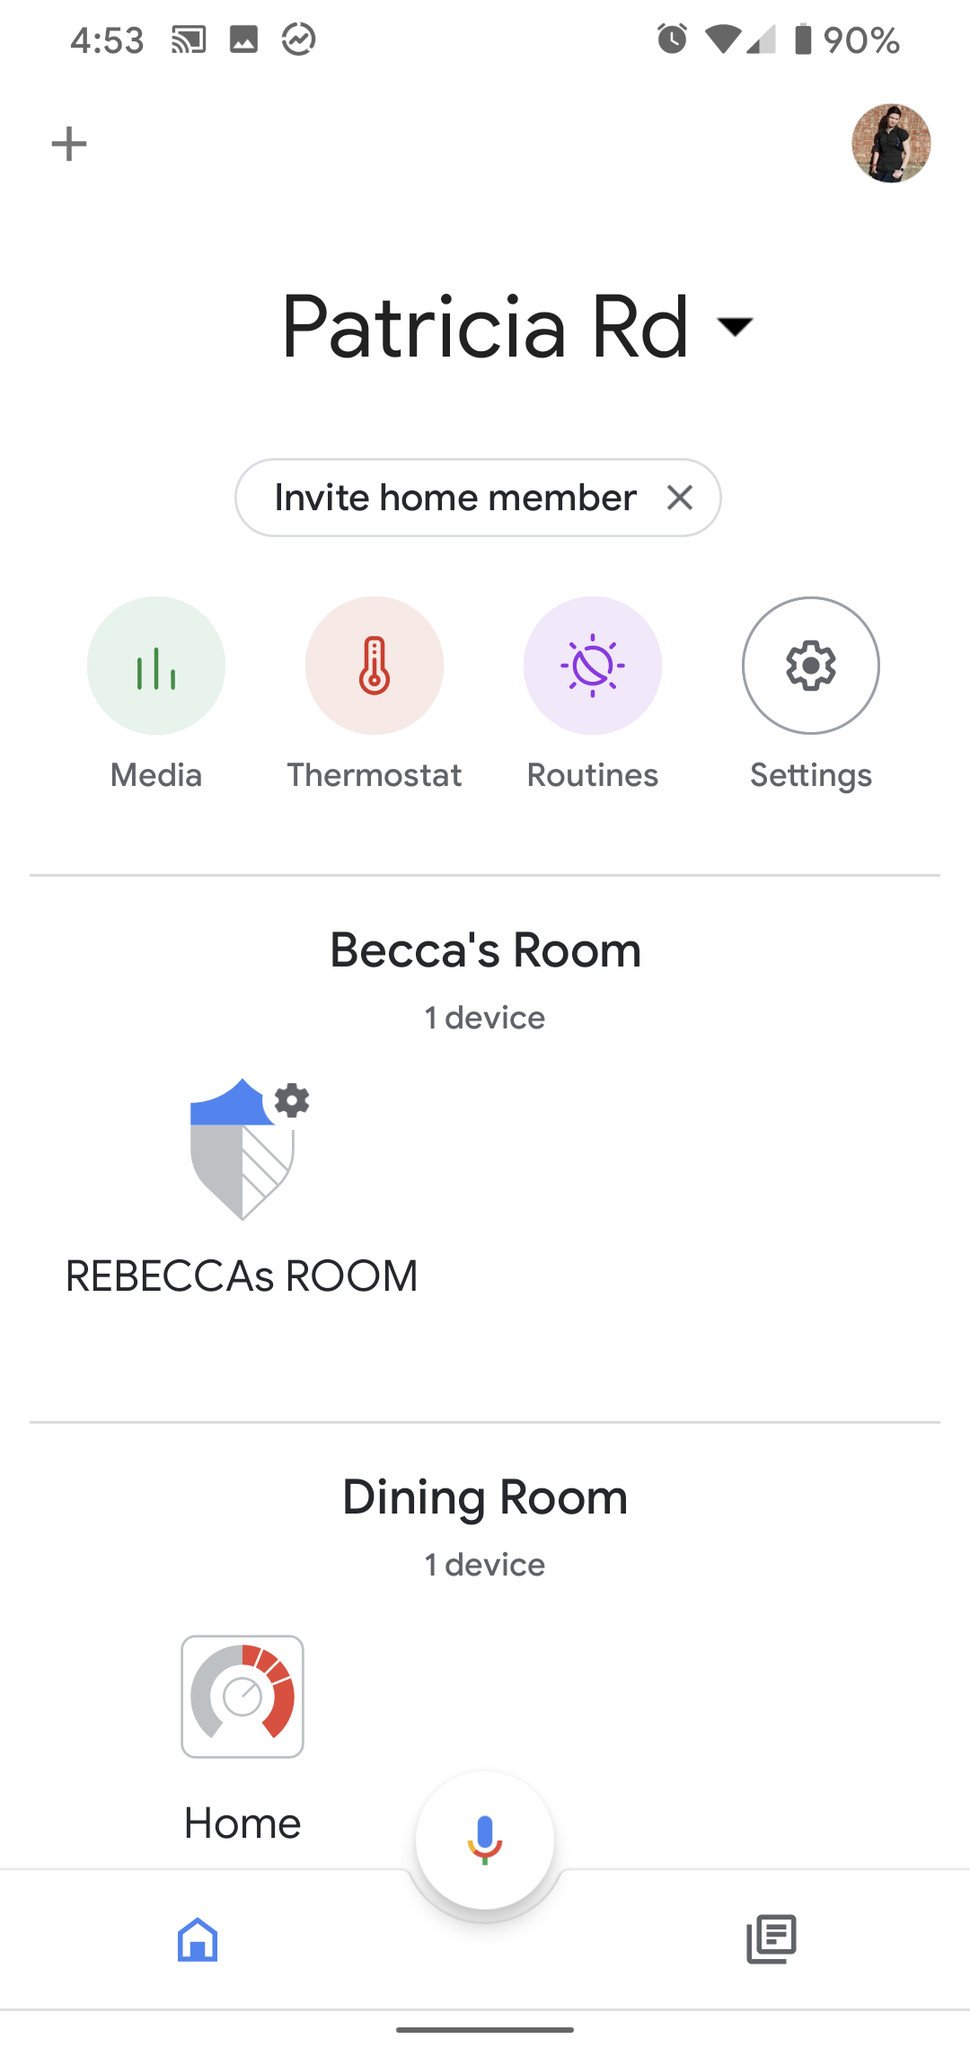
- Tap the + in the top left corner of the Home View tab.
-
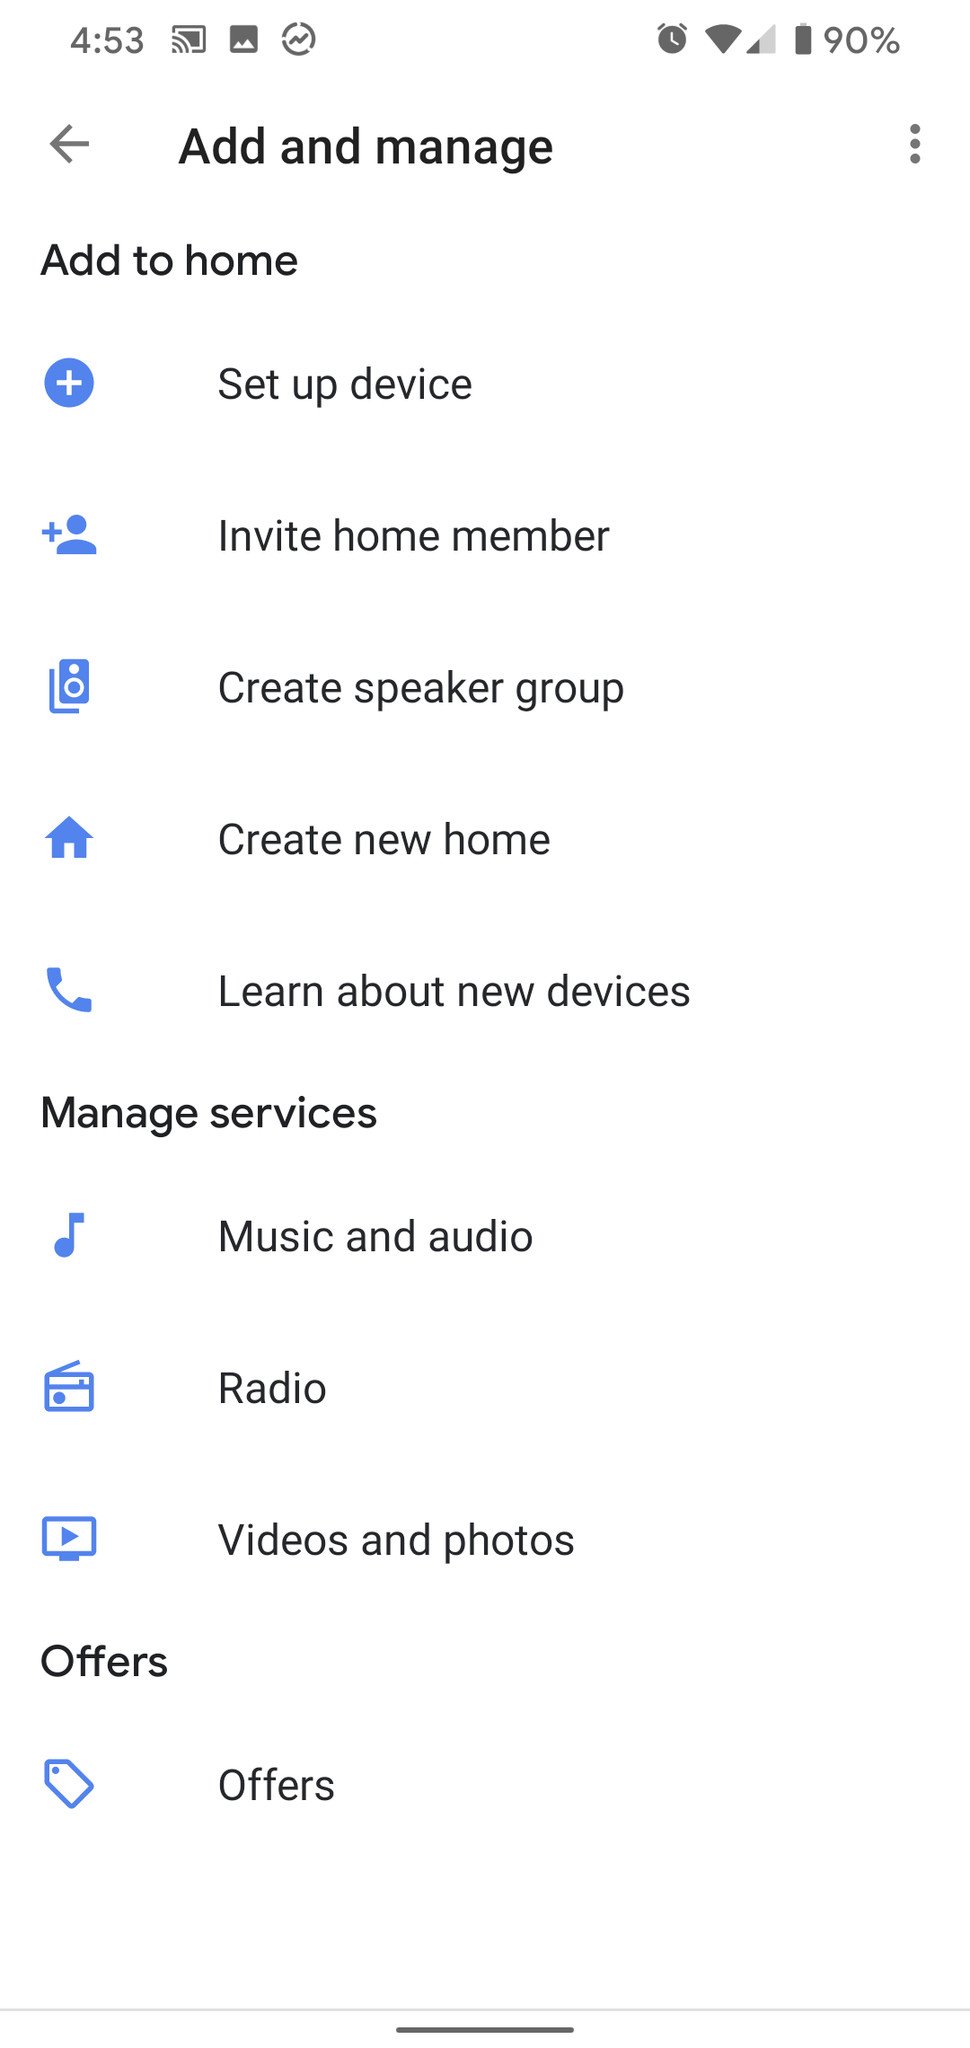
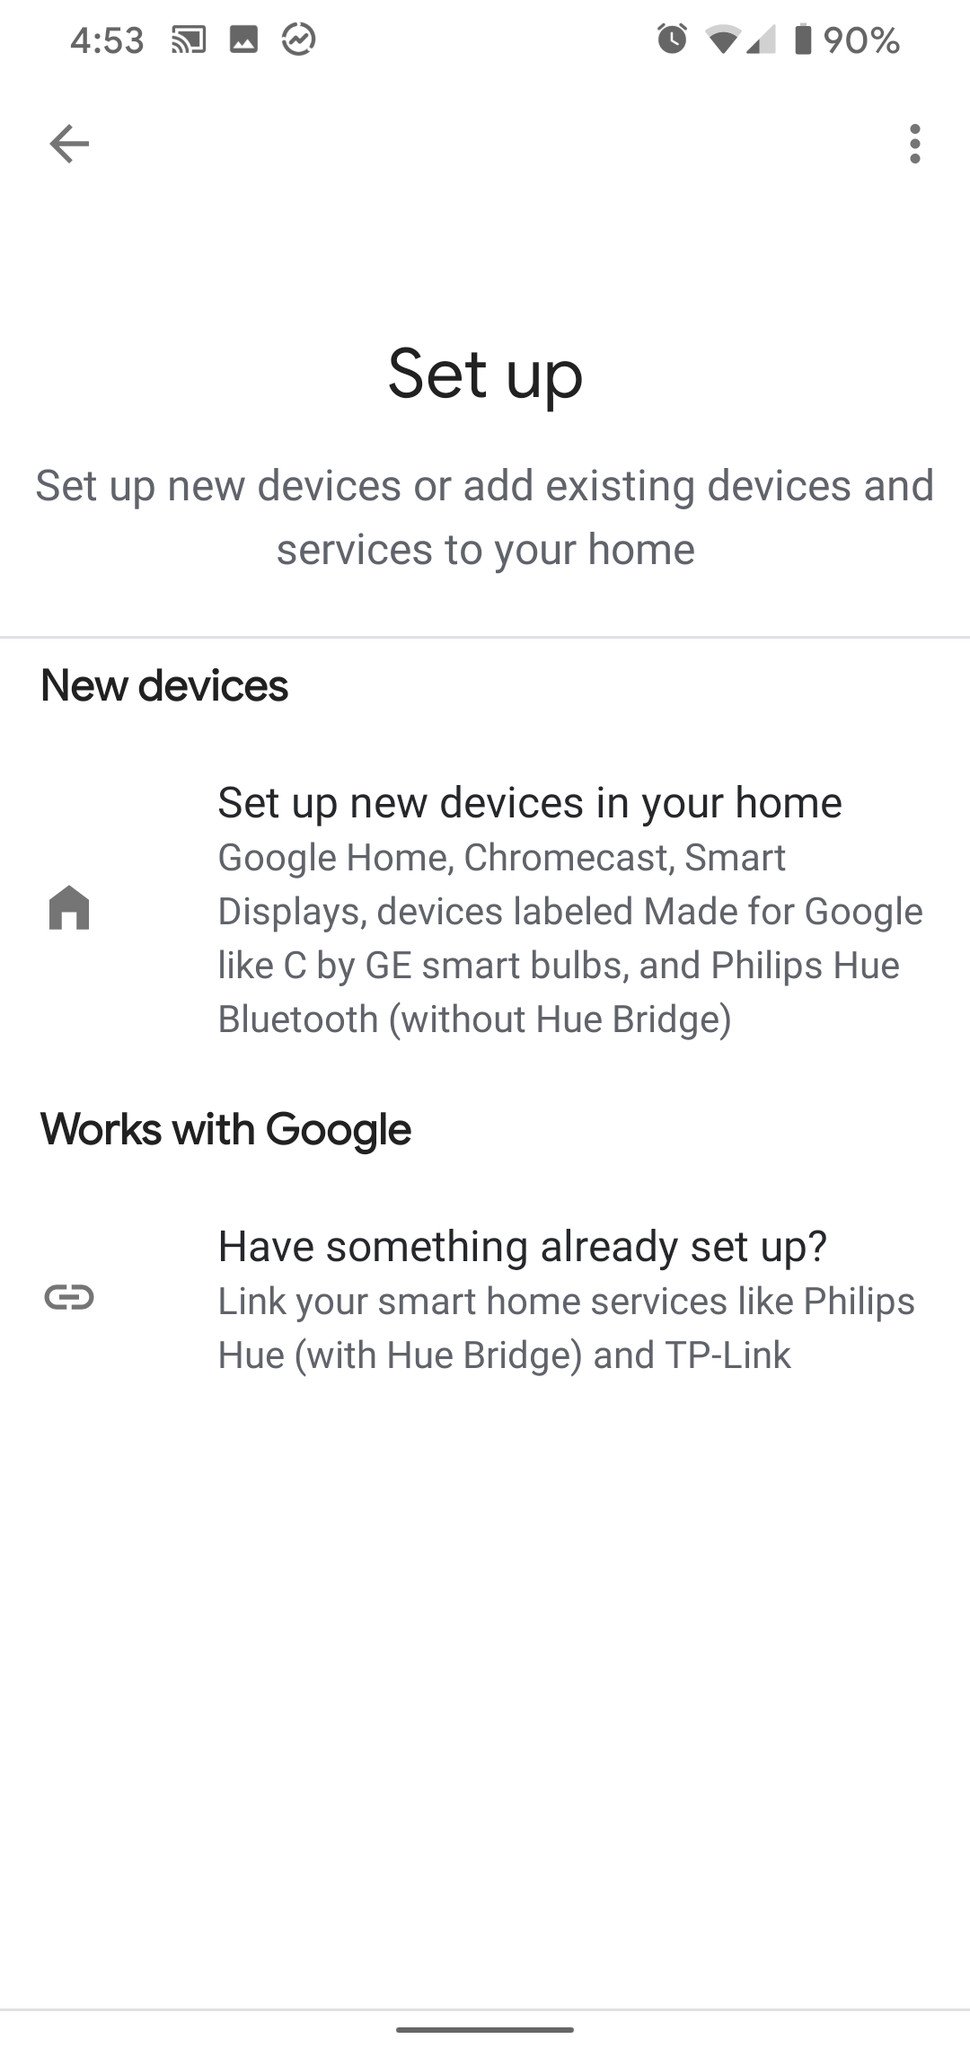
Tap Set up device.
- Tap Set up new devices in your home.
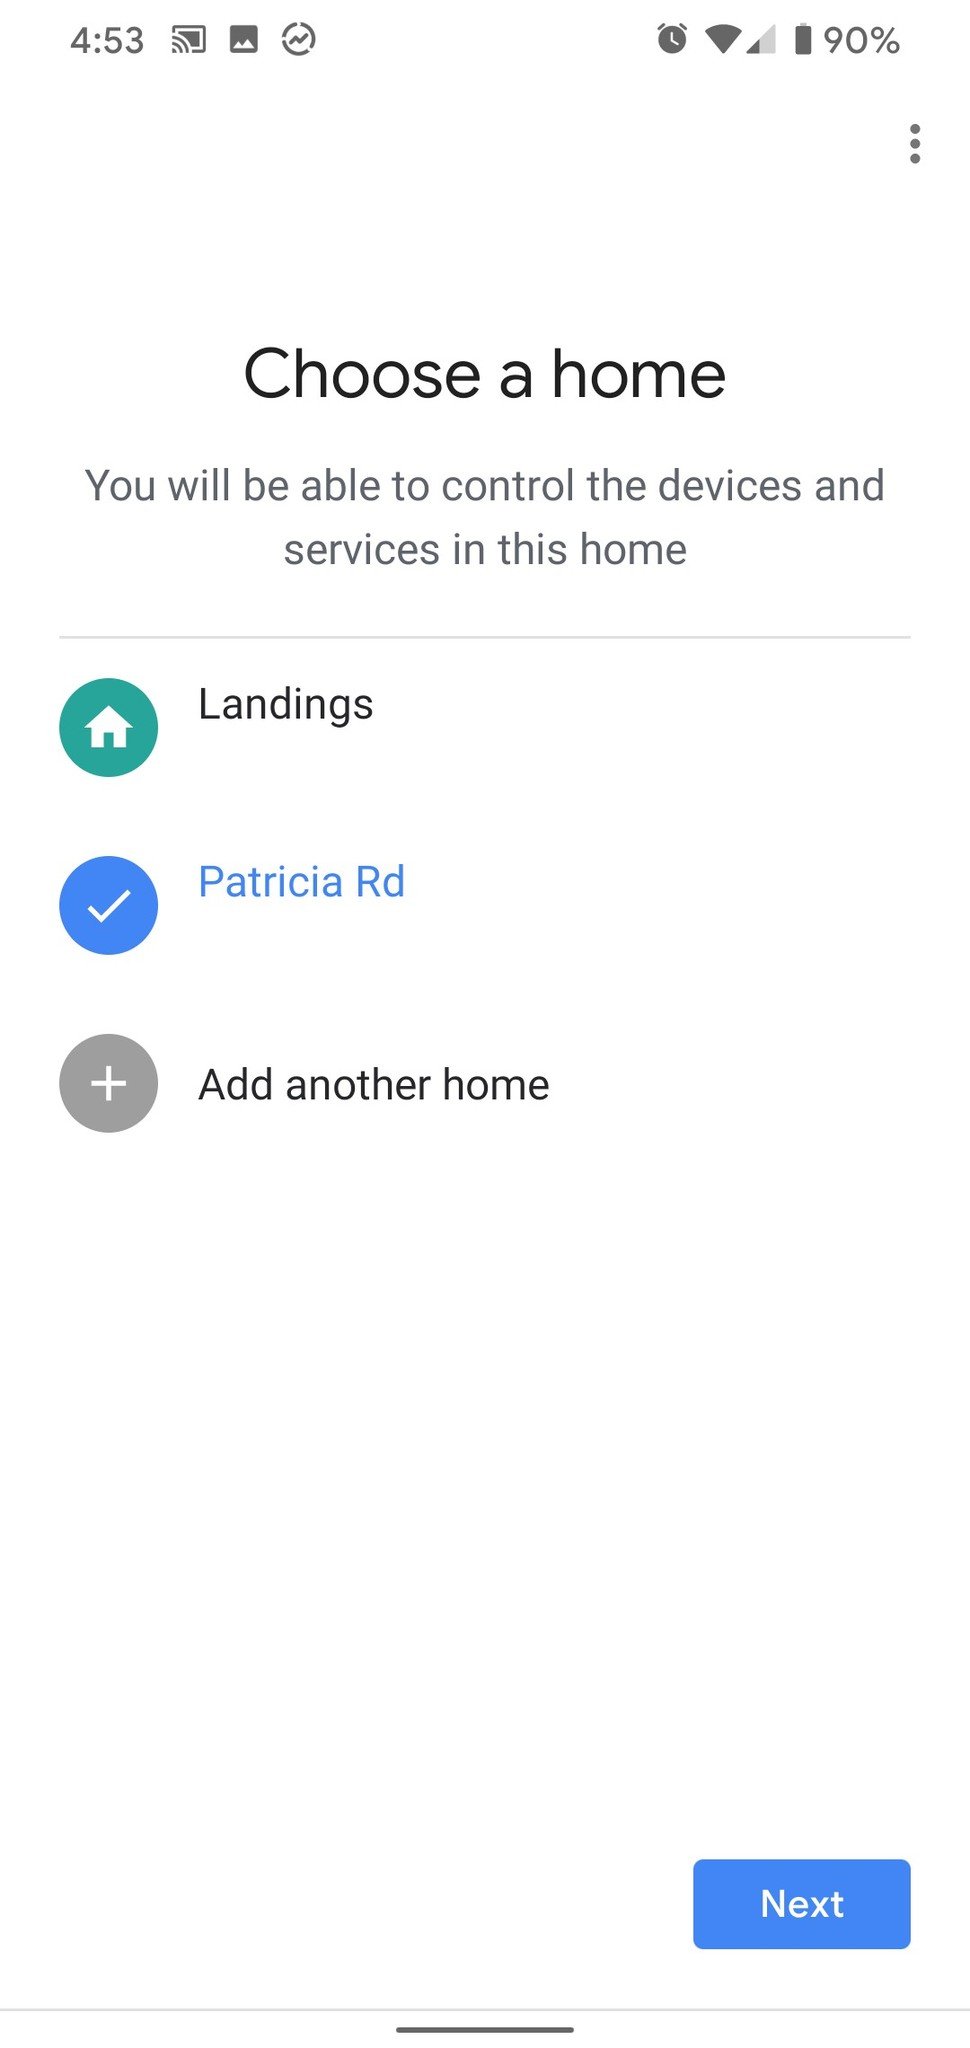
- Tap the home you wish to attach the Google Assistant speaker to.
- Tap Next.
-
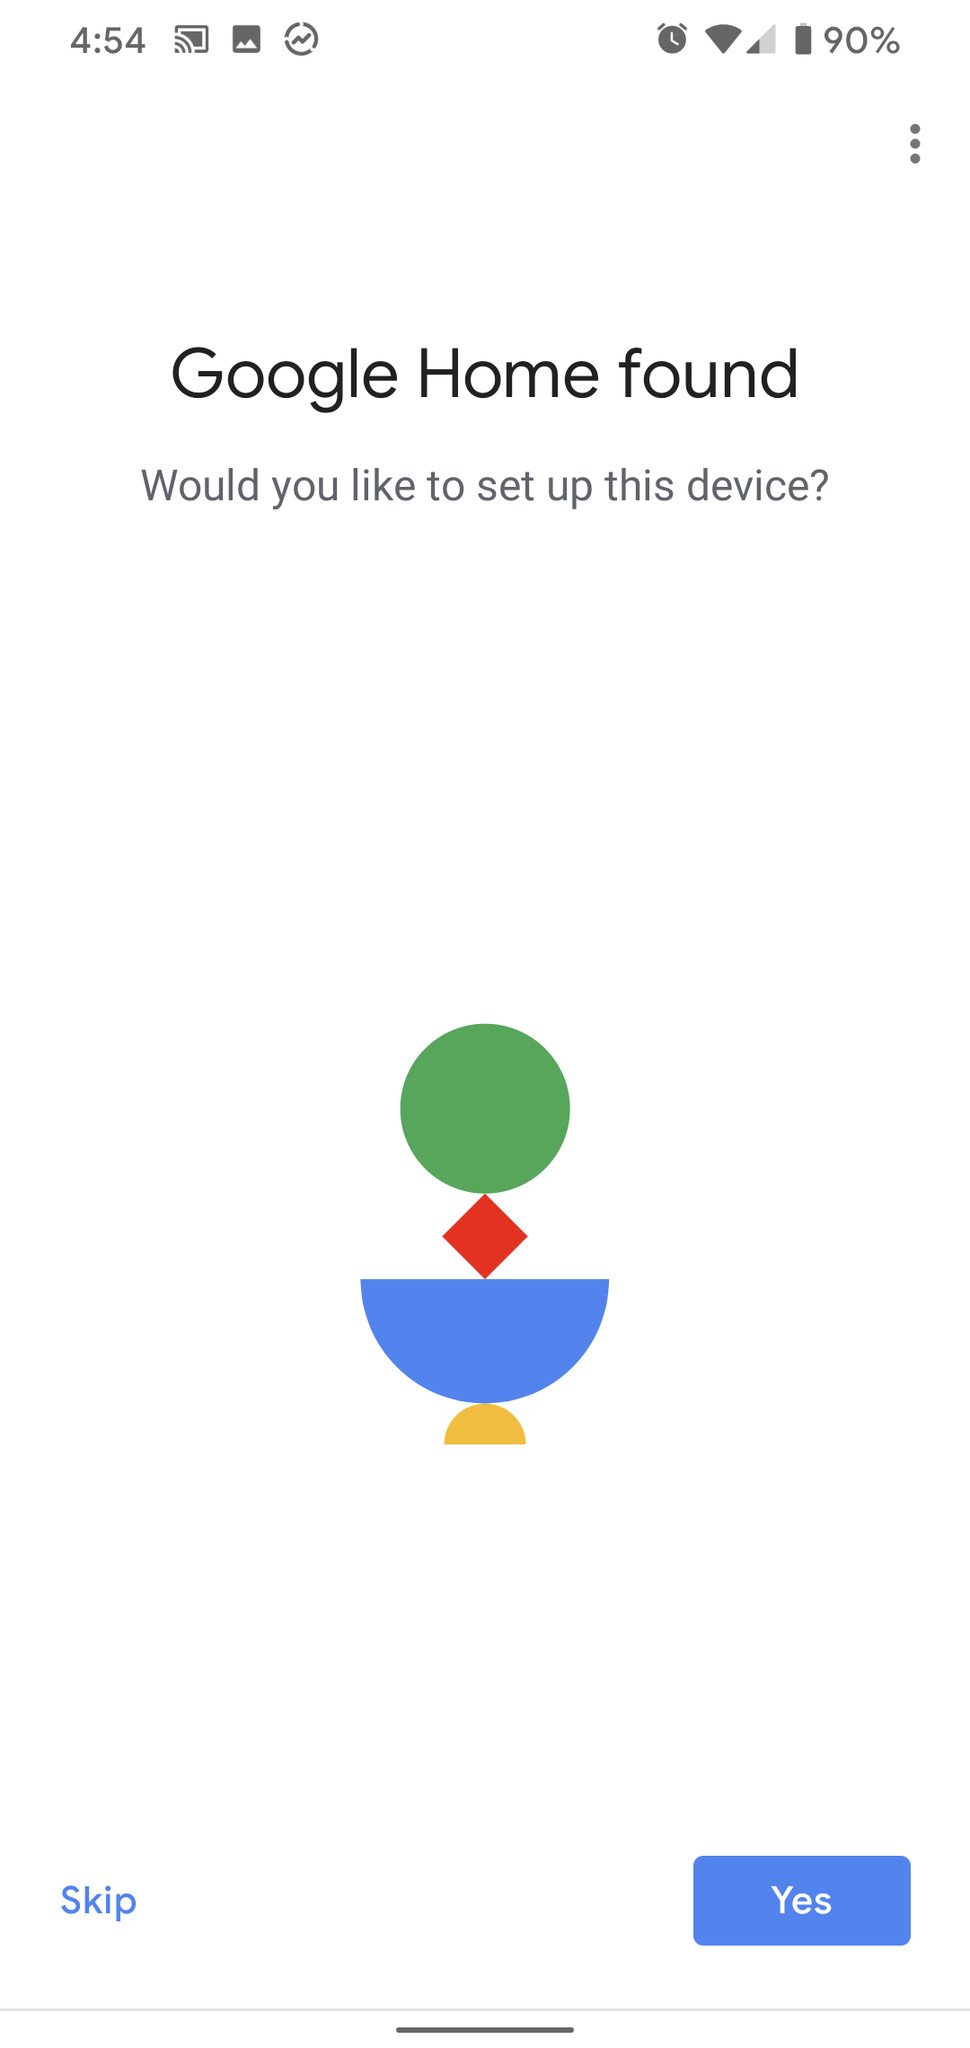
Google will search for devices to be set up. Once it has found yours, it will ask if you want to set it up. Tap Yes.
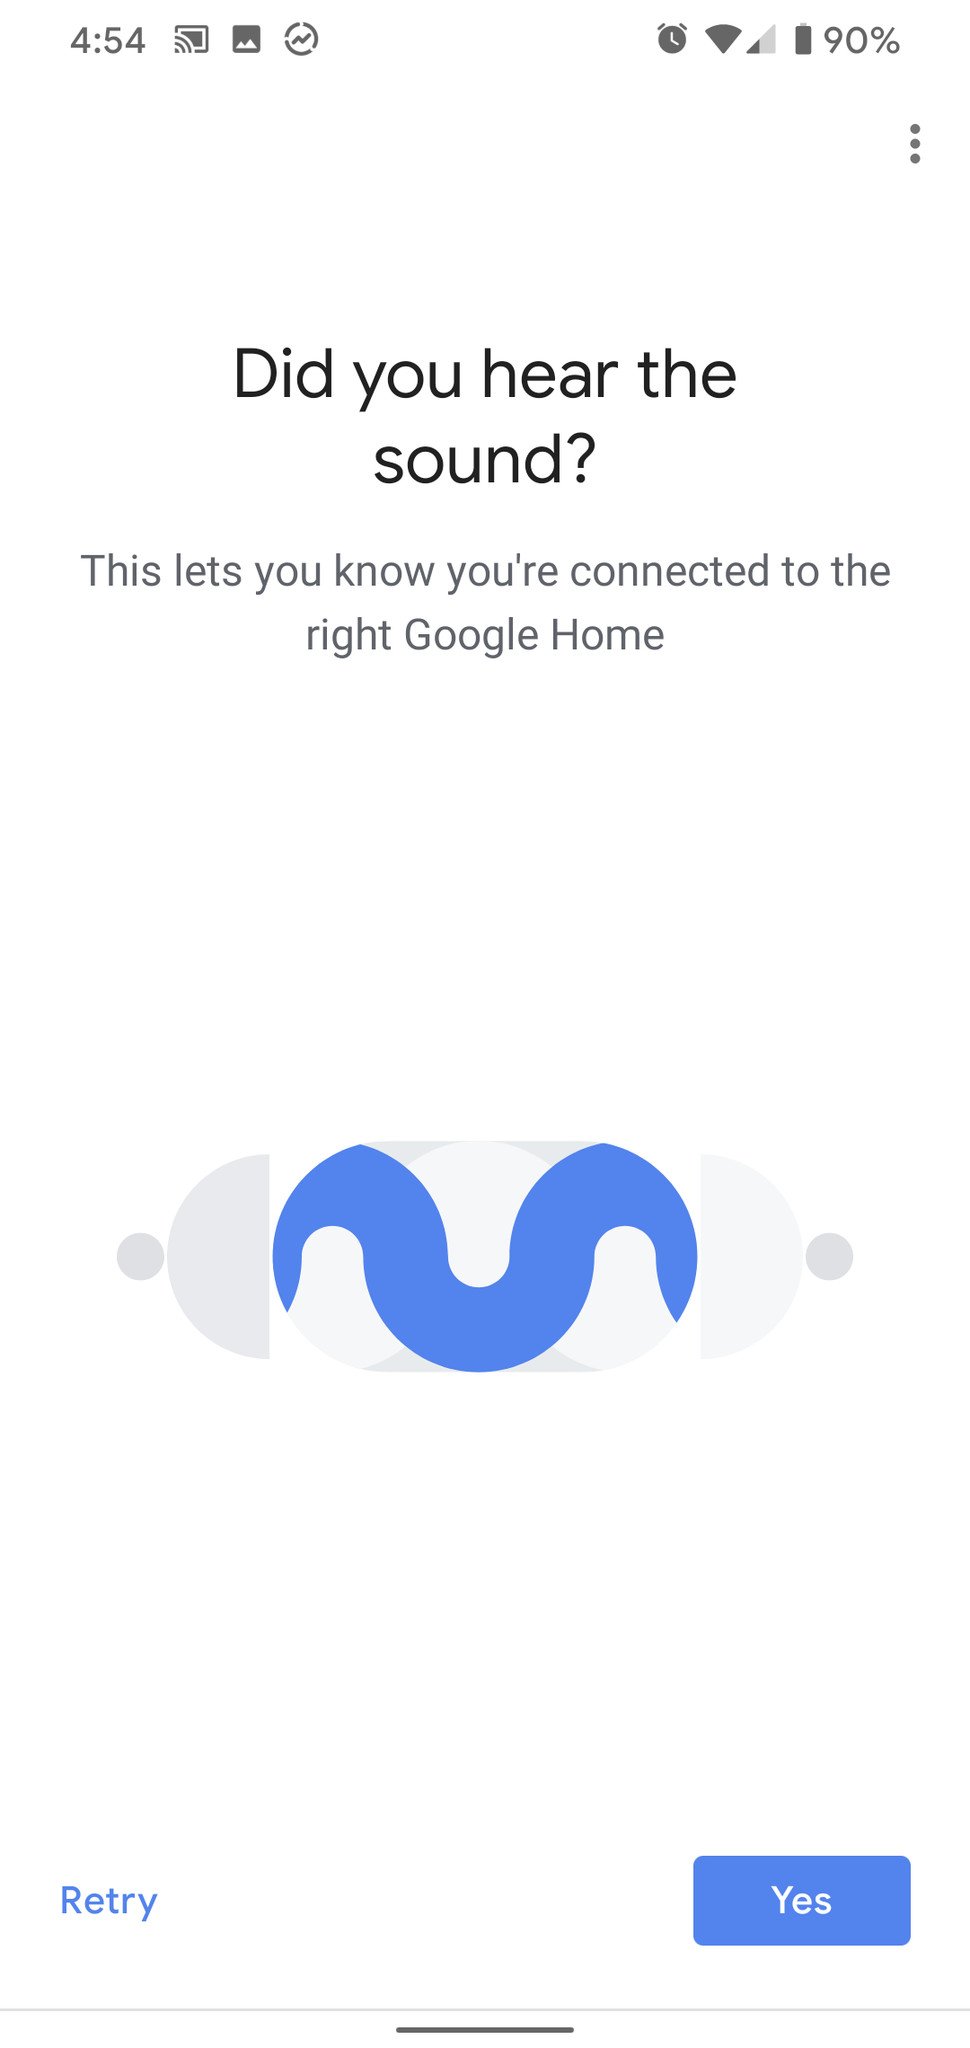
- Google will connect to your speaker and play a pairing tone in order to continue setup. If you hear the sound from the right Google Assistant speaker, tap Yes.
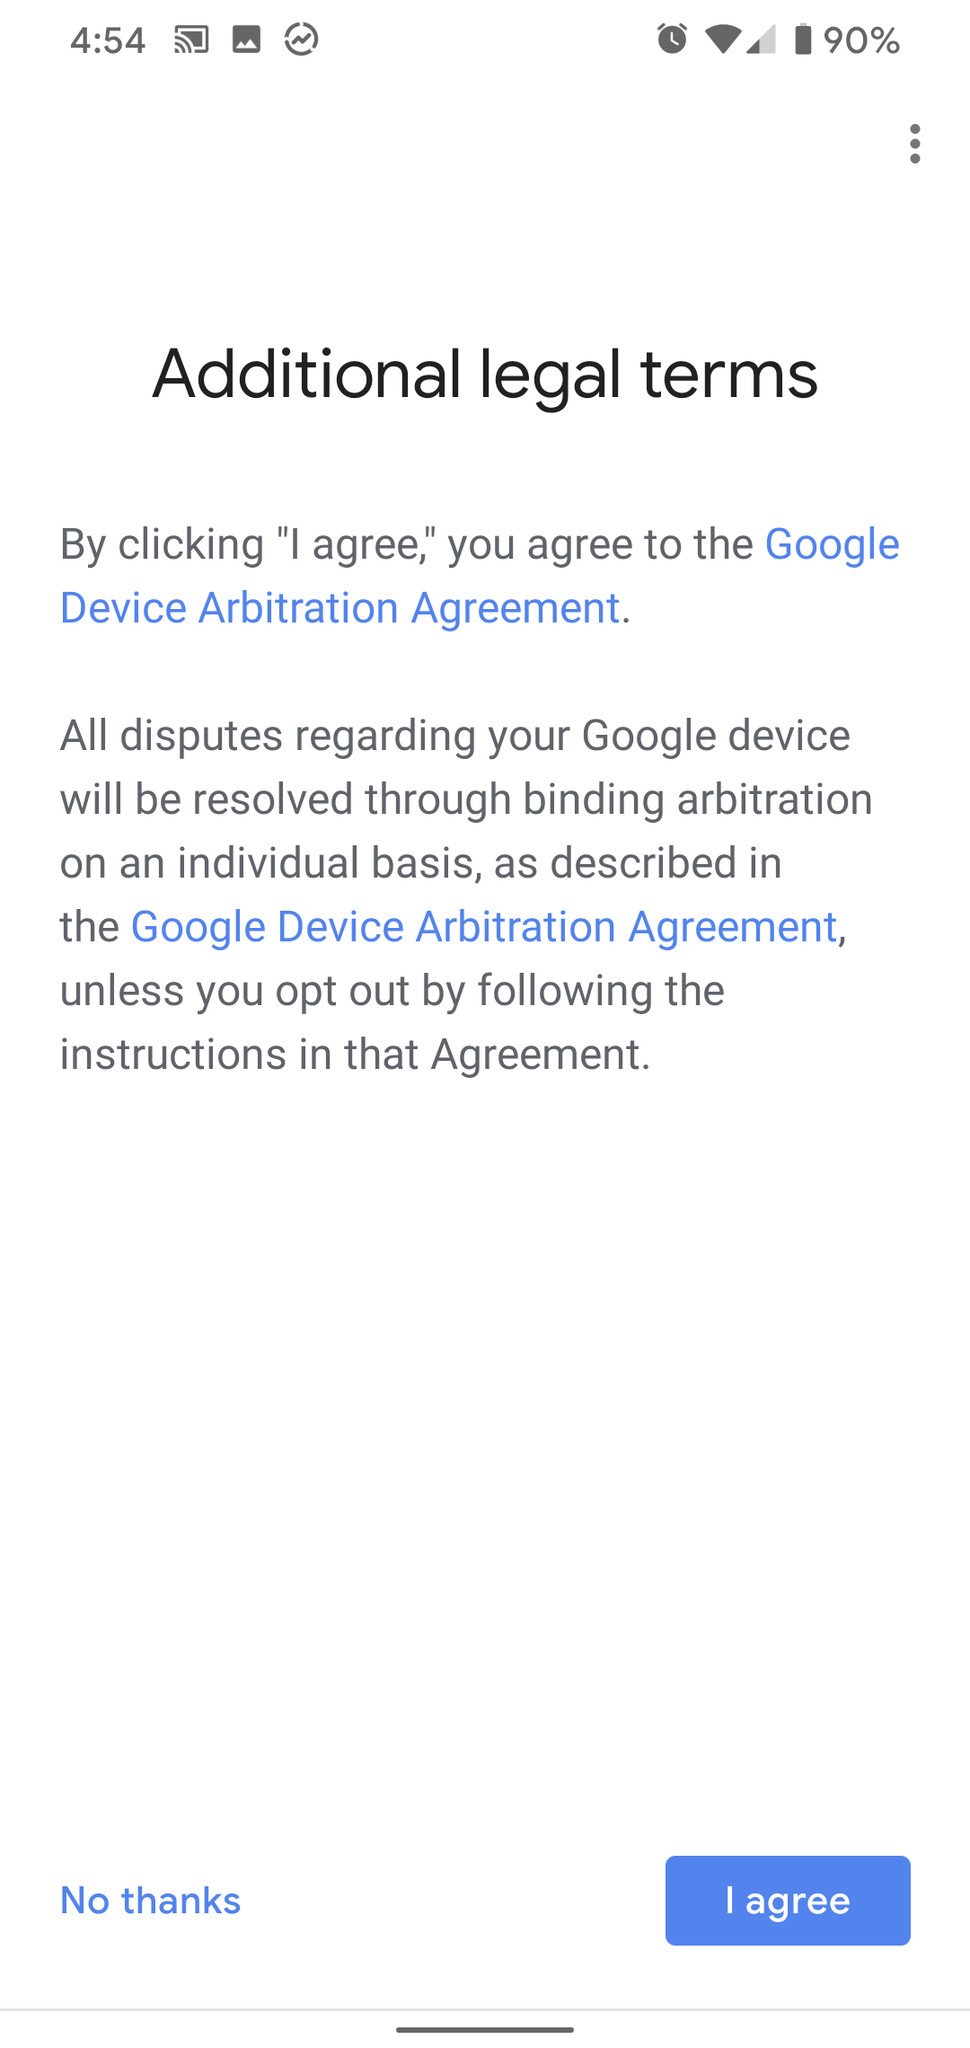
- Google has an arbitration clause in its legal terms — because of course, it does — but you can opt out of it by tapping No thanks.
-
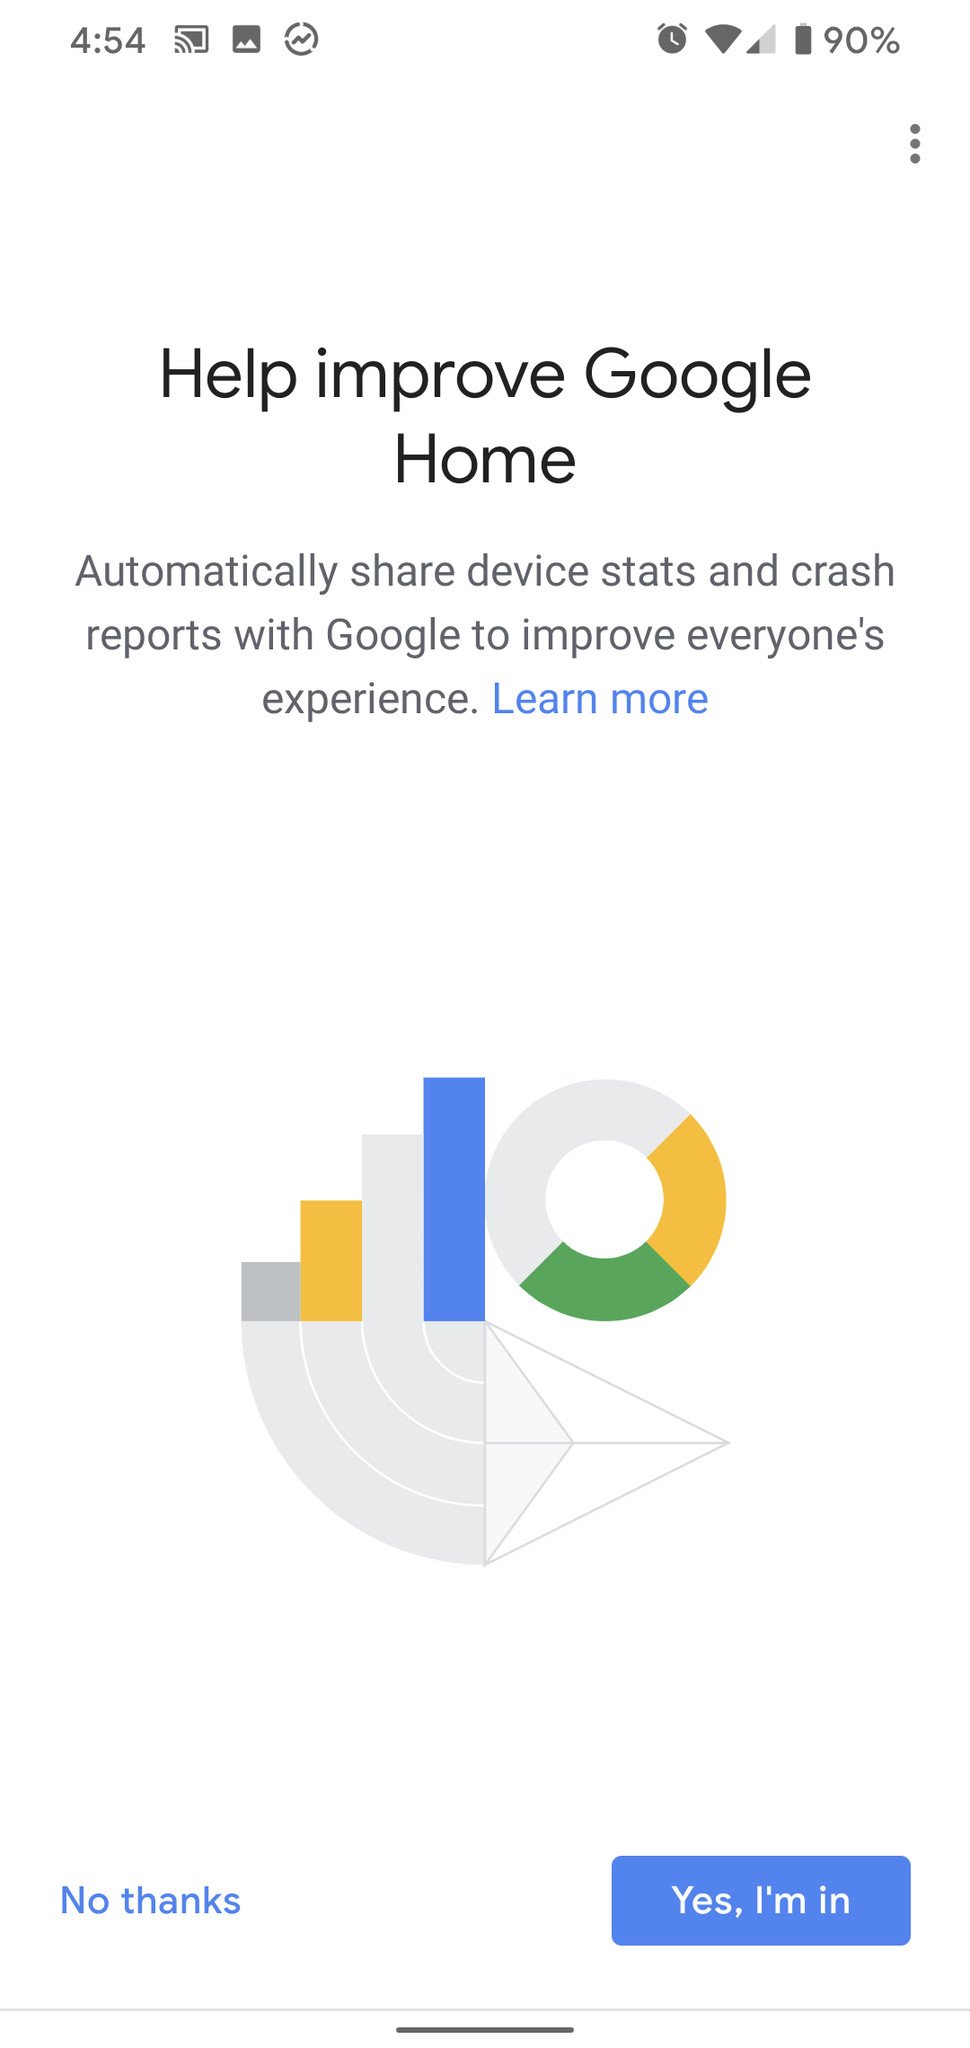
Google uses information from willing users to help improve the Google Assistant experience. To opt in and allow Google to use the information from your device, tap Yes, I'm in. If not, tap No thanks.
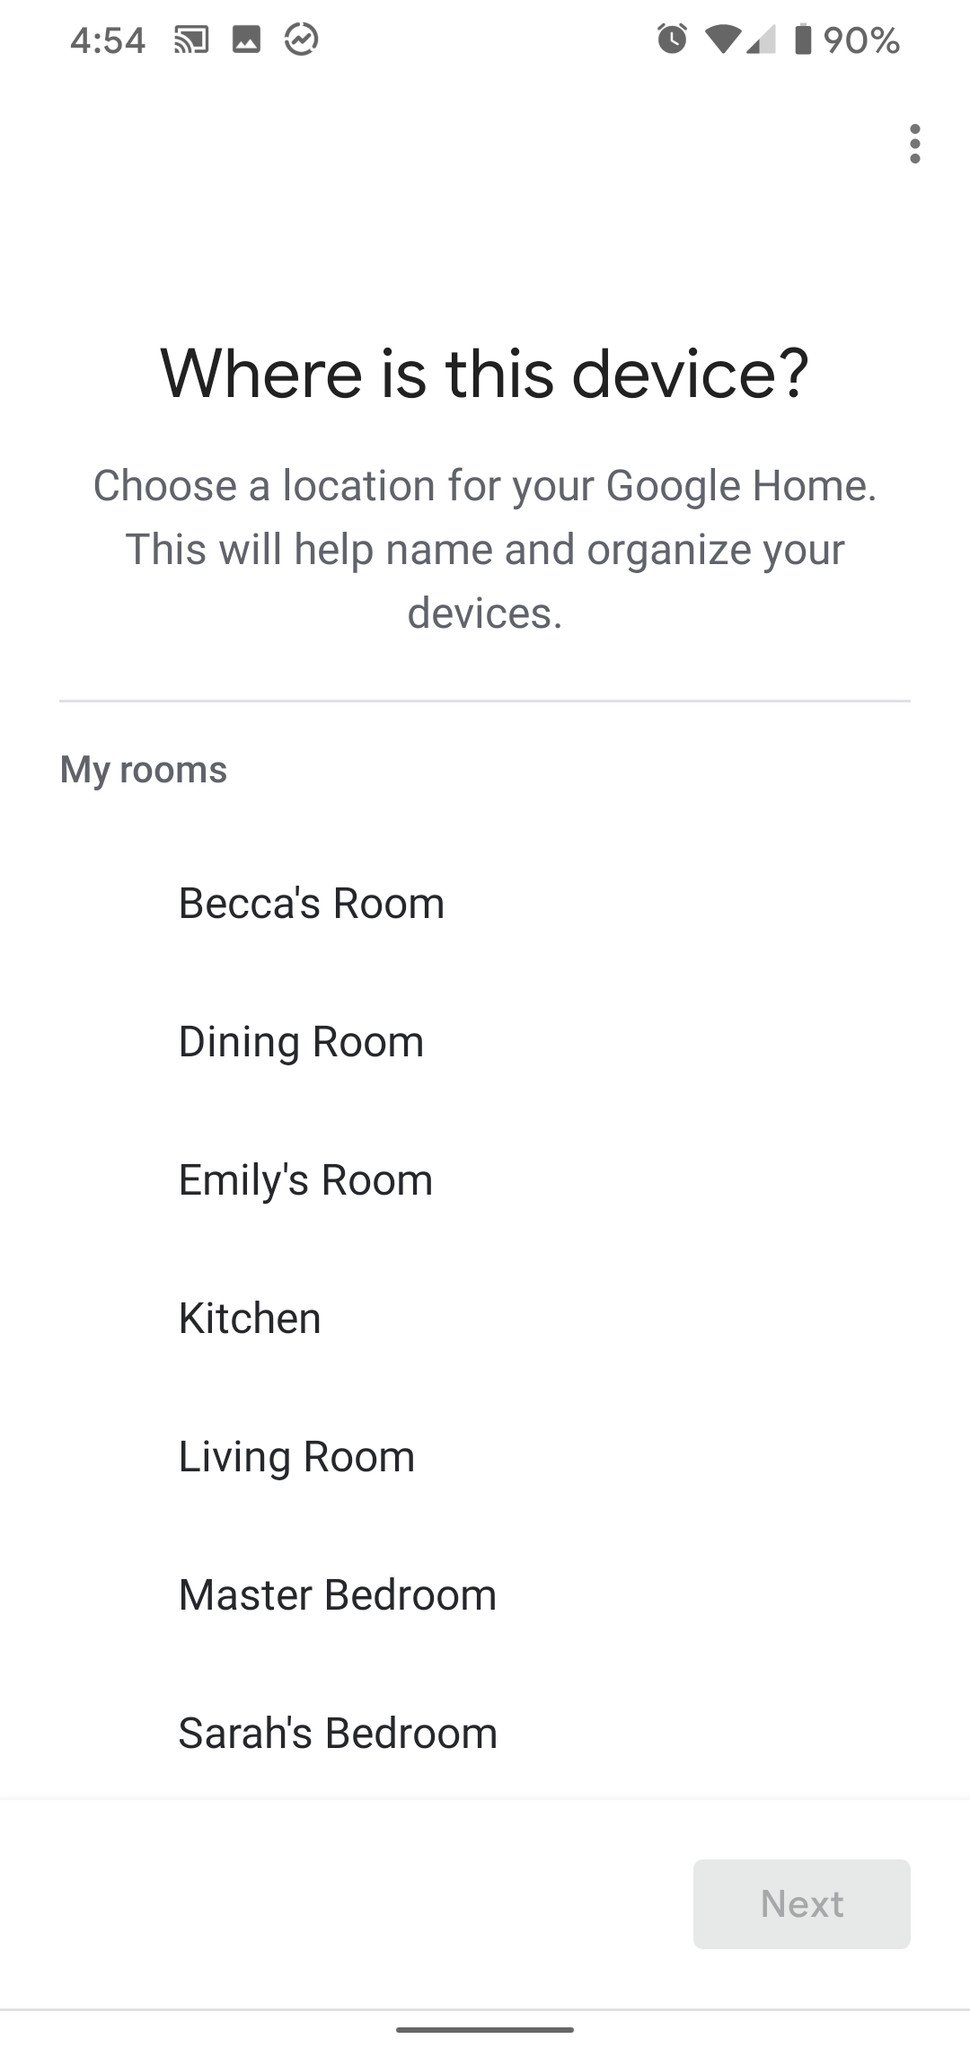
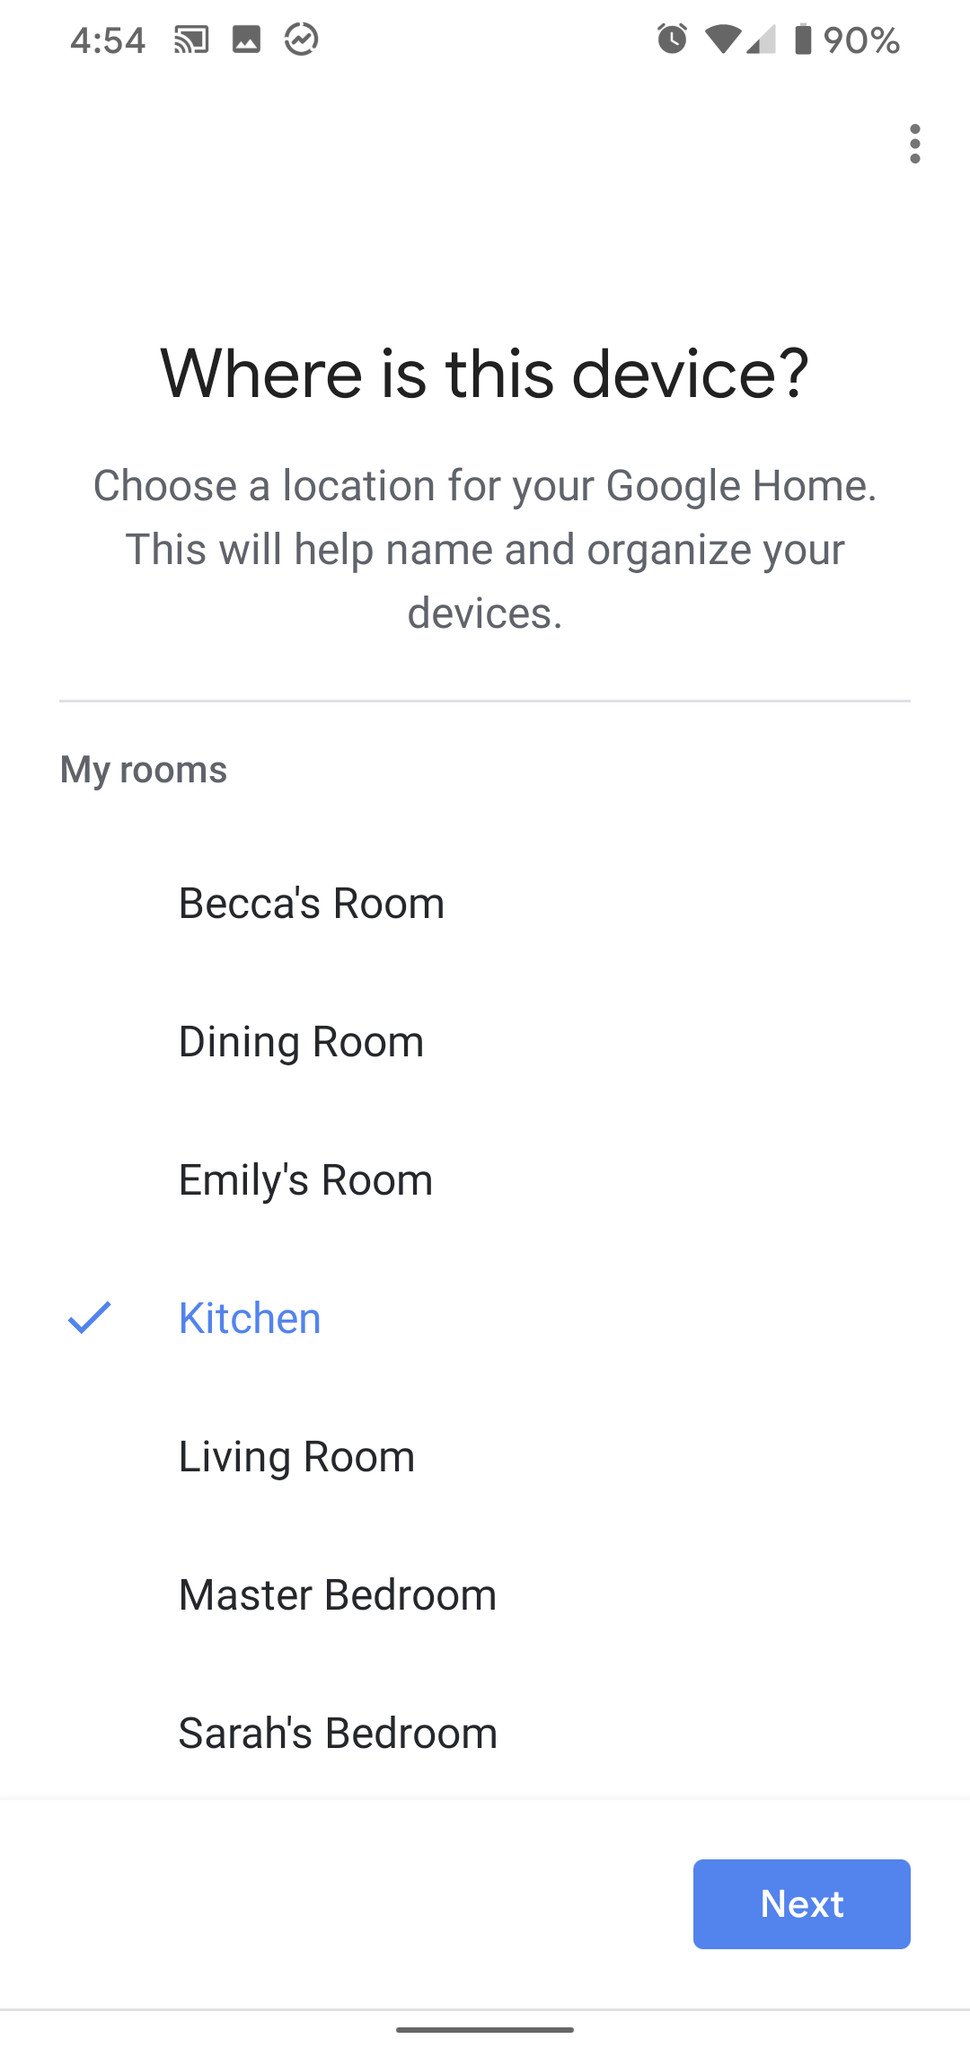
- A list of rooms in your room will appear. Tap the room your Google Assistant speaker will live in.
- Tap Next.
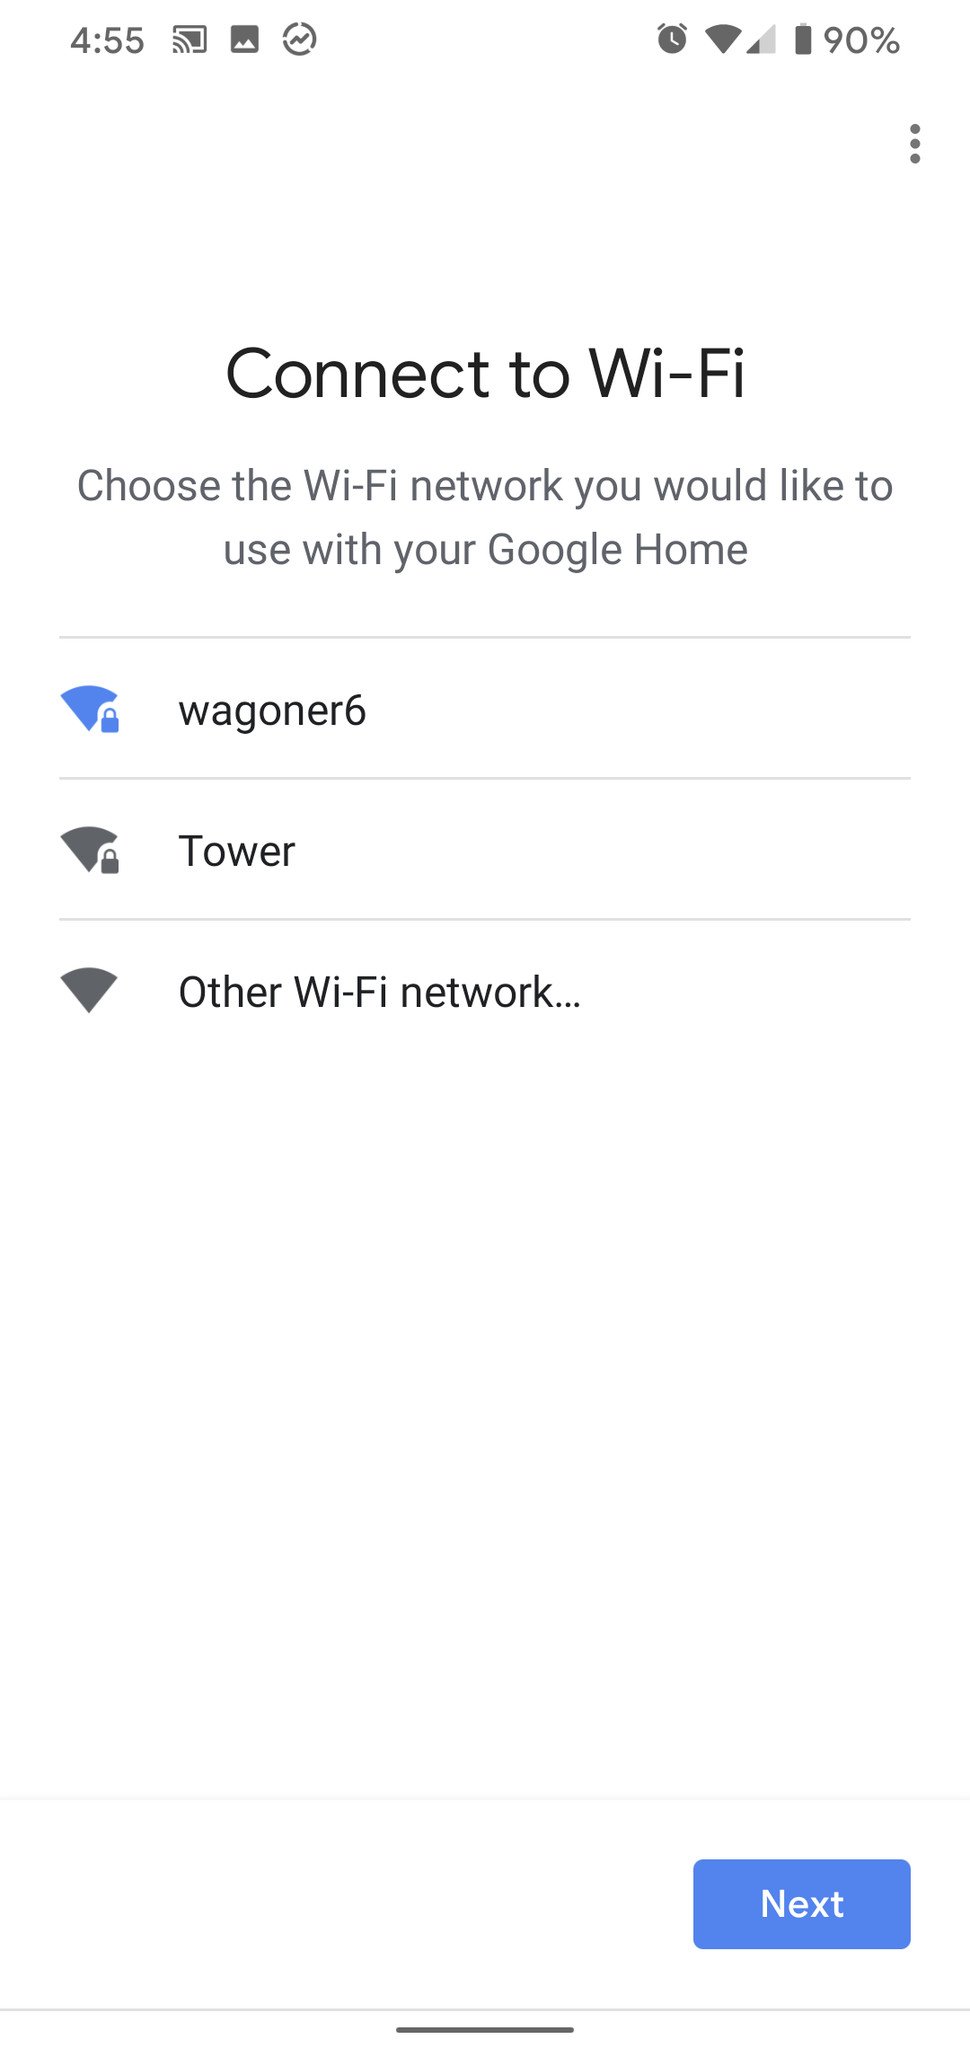
- Tap the Wi-Fi network you want to connect the speaker to.
-
Tap Next.
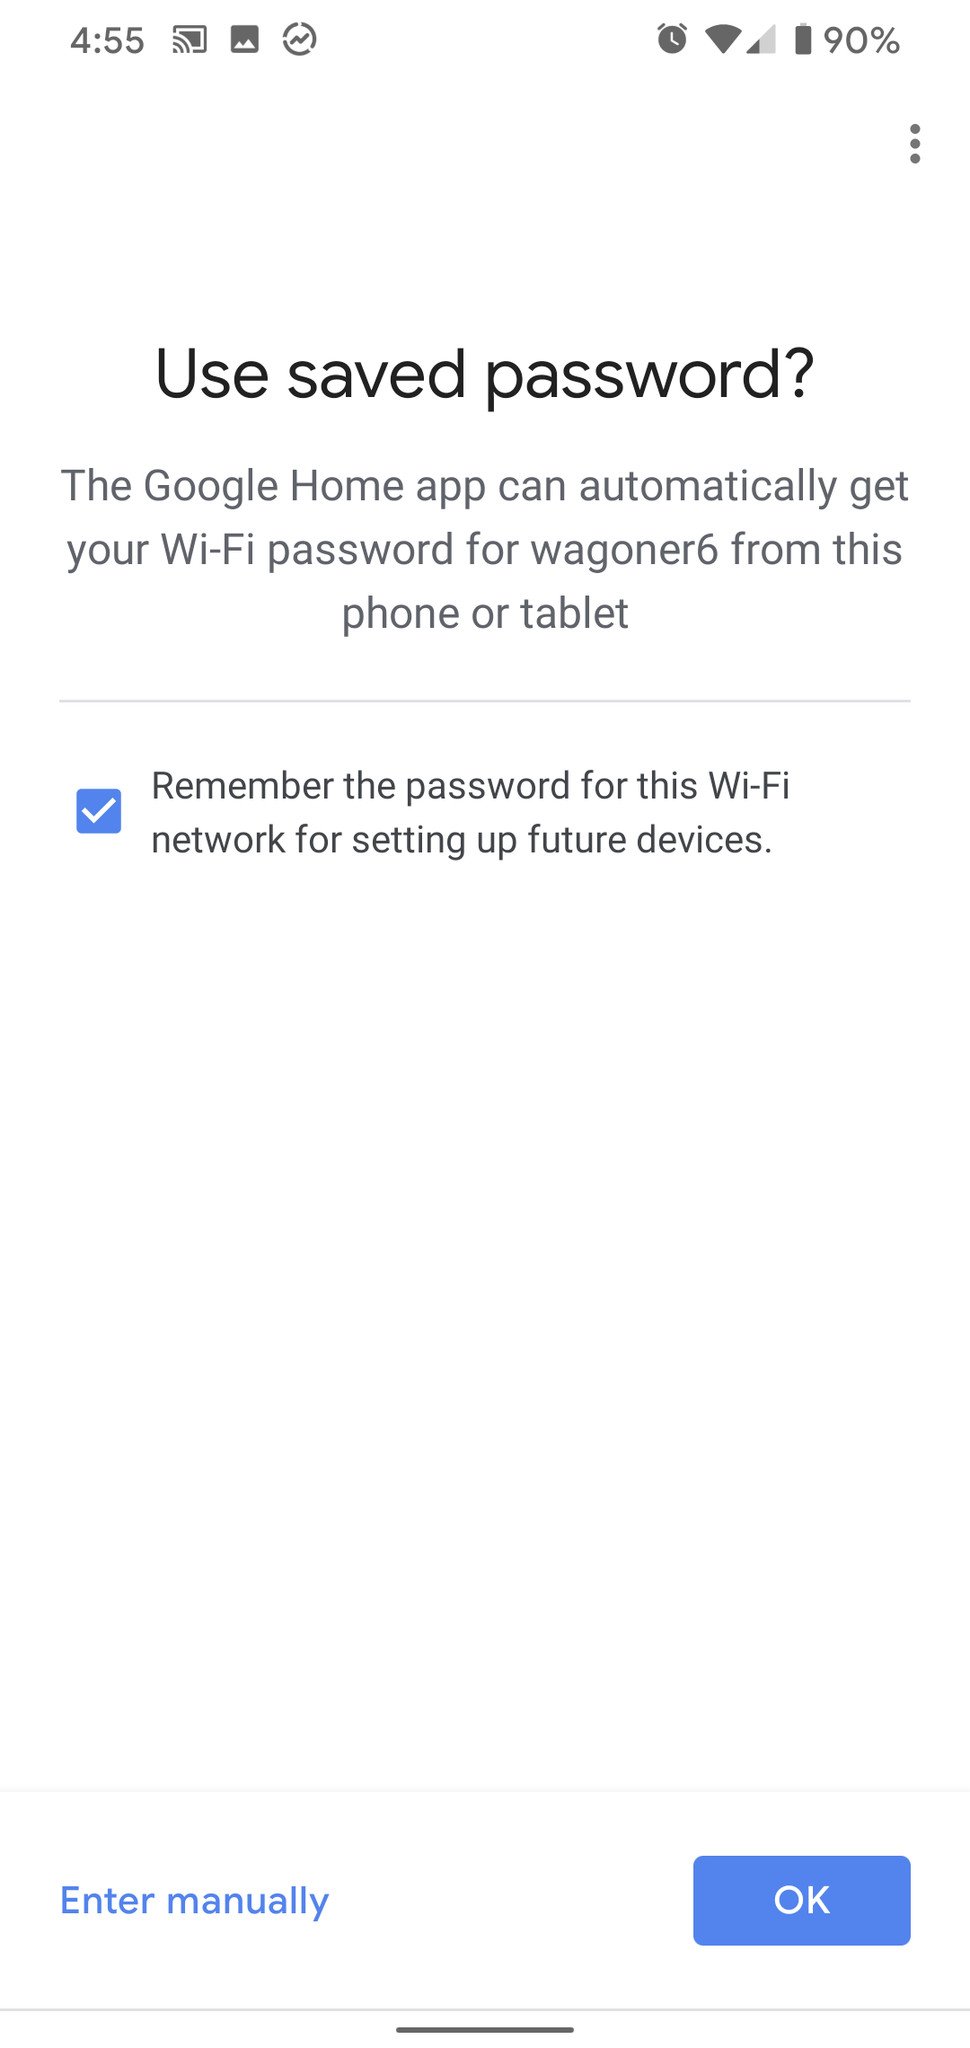
- If you've used the Google Home app to set up a Google Assistant device before, you can use the saved password for your speaker by tapping OK.
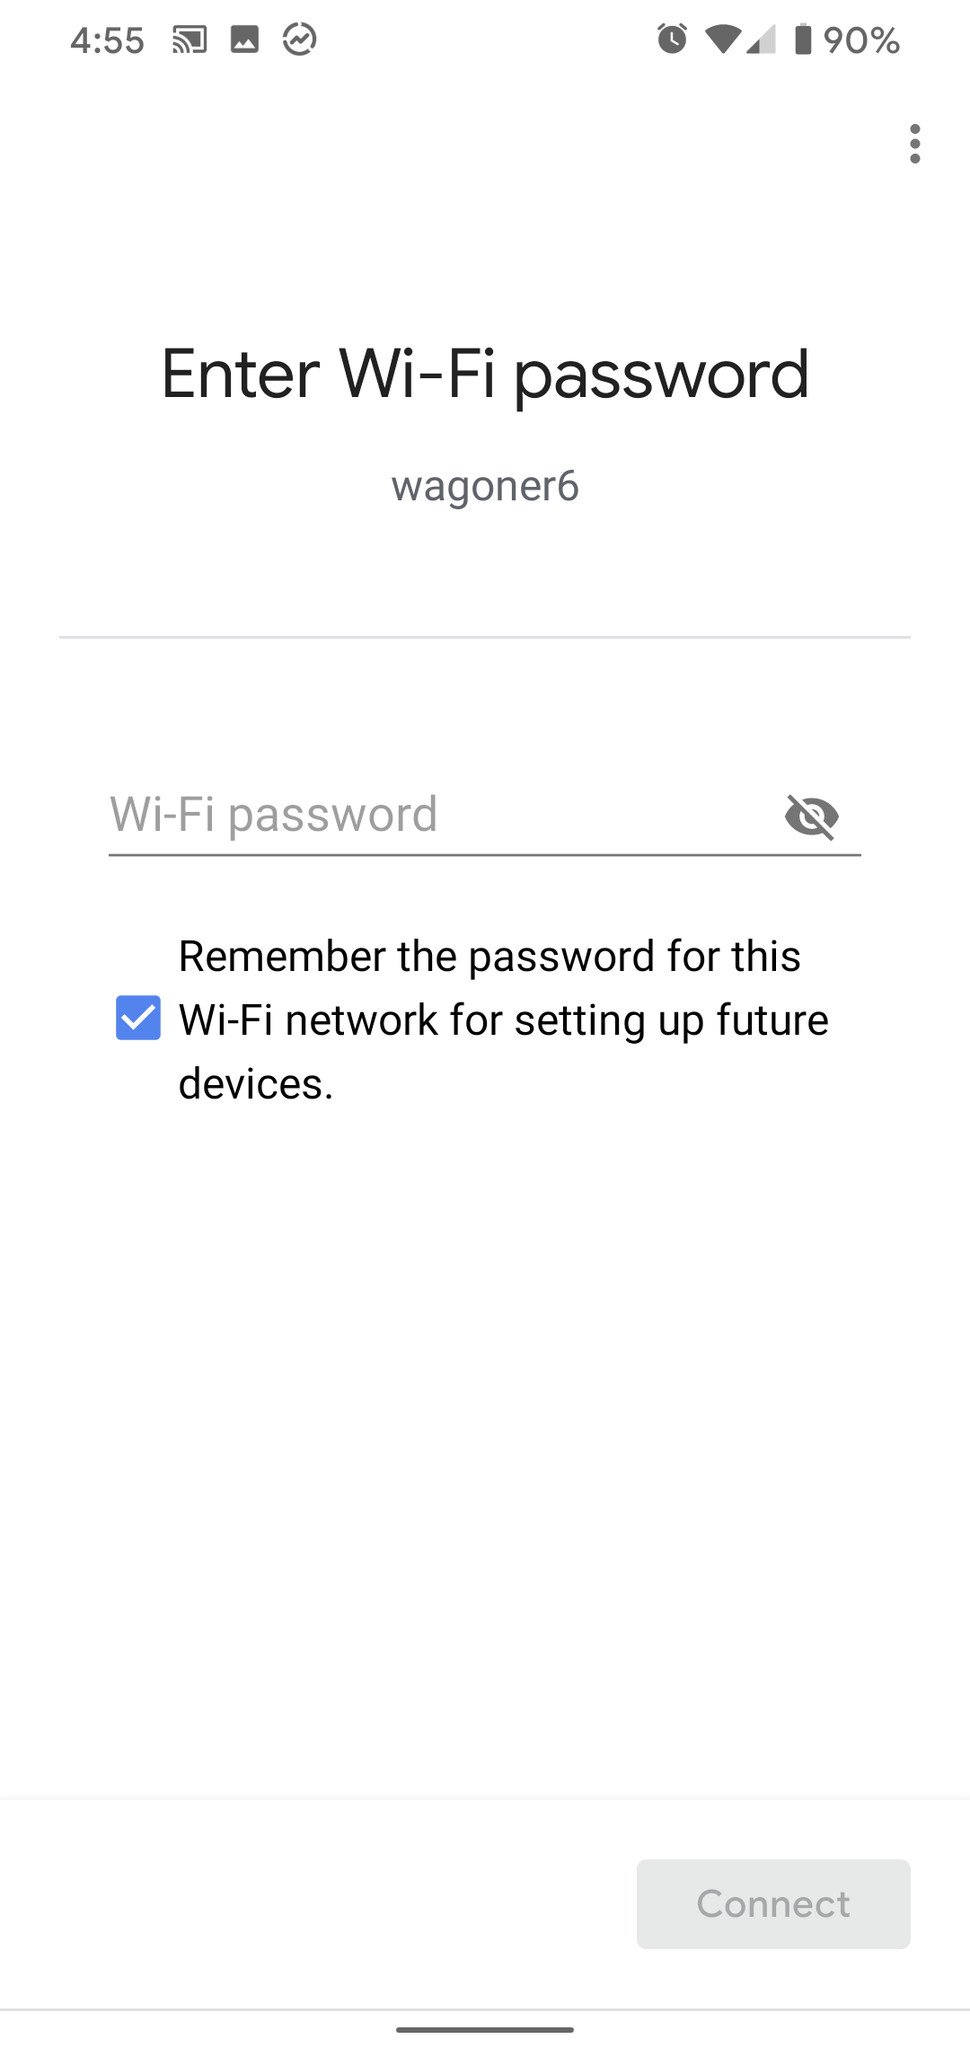
- If this is your first Google Assistant device, type in your password.
- Tap Next.
-
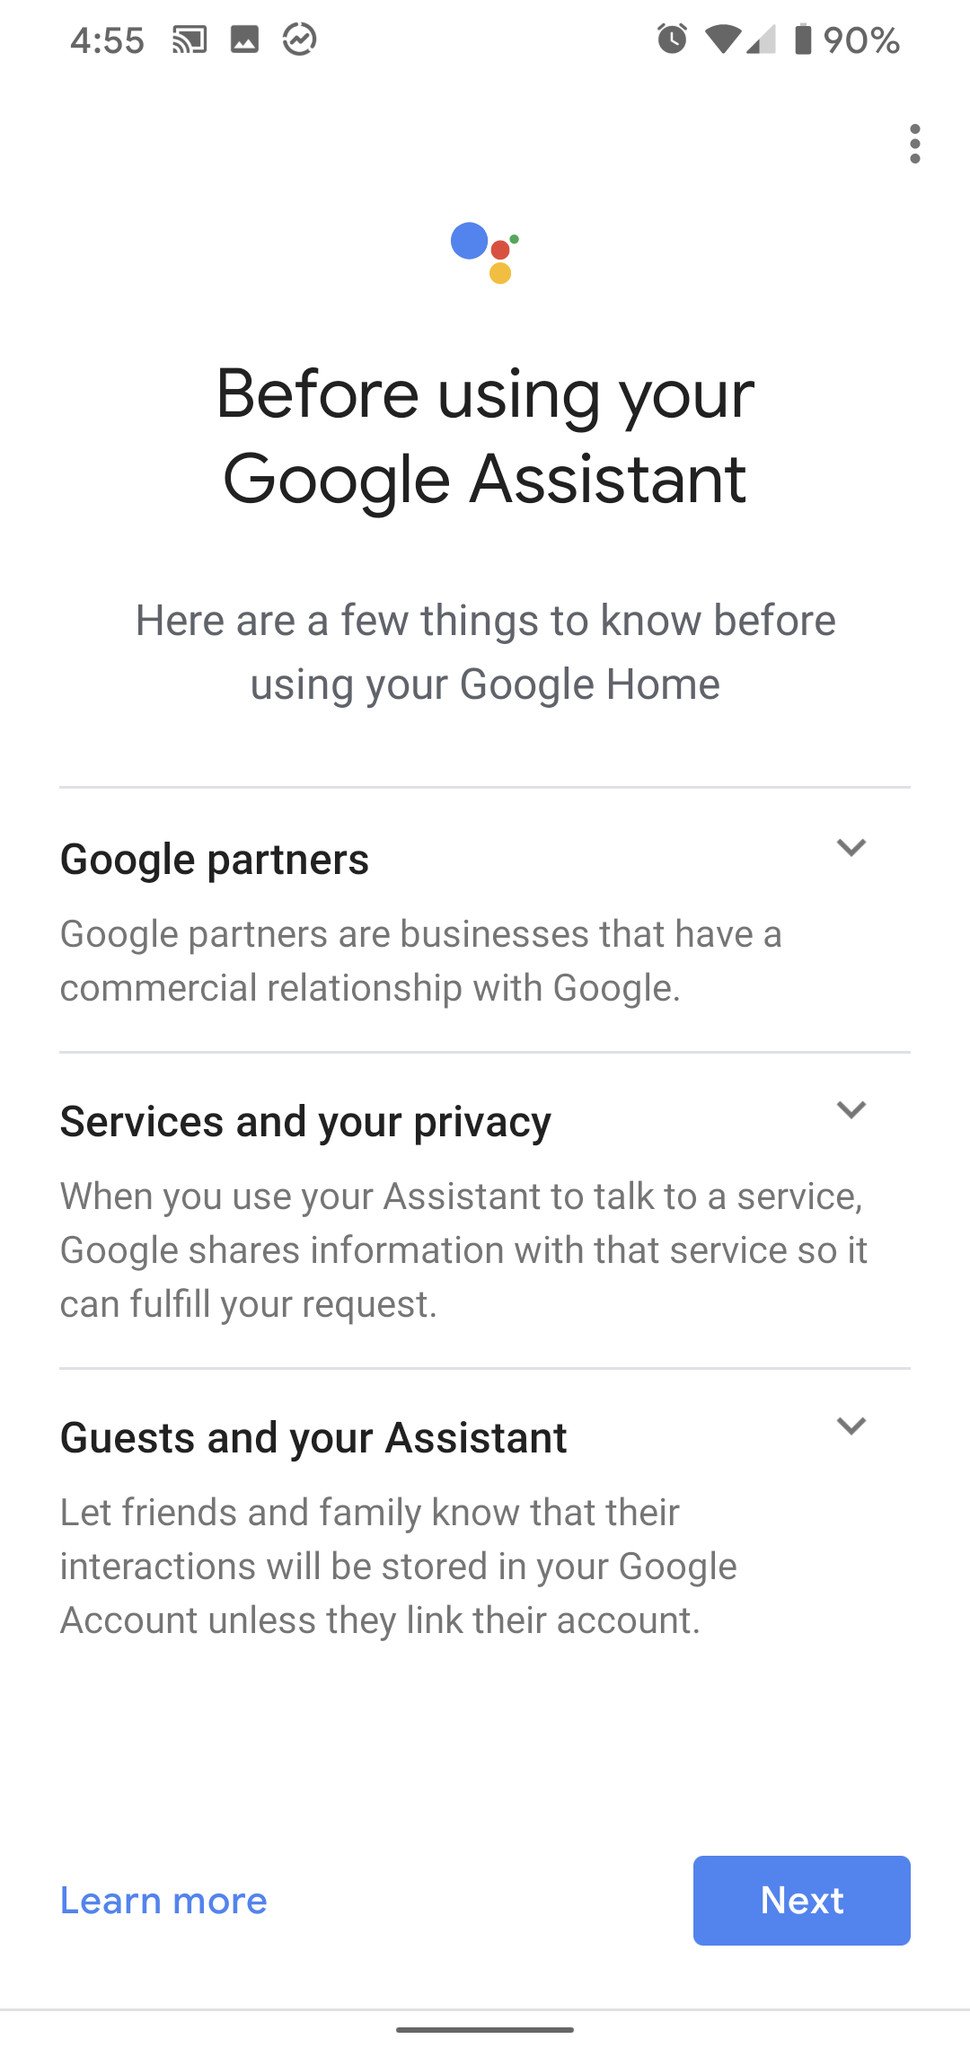
Once your device connects to Wi-Fi Google Assistant setup begins. Tap Next.
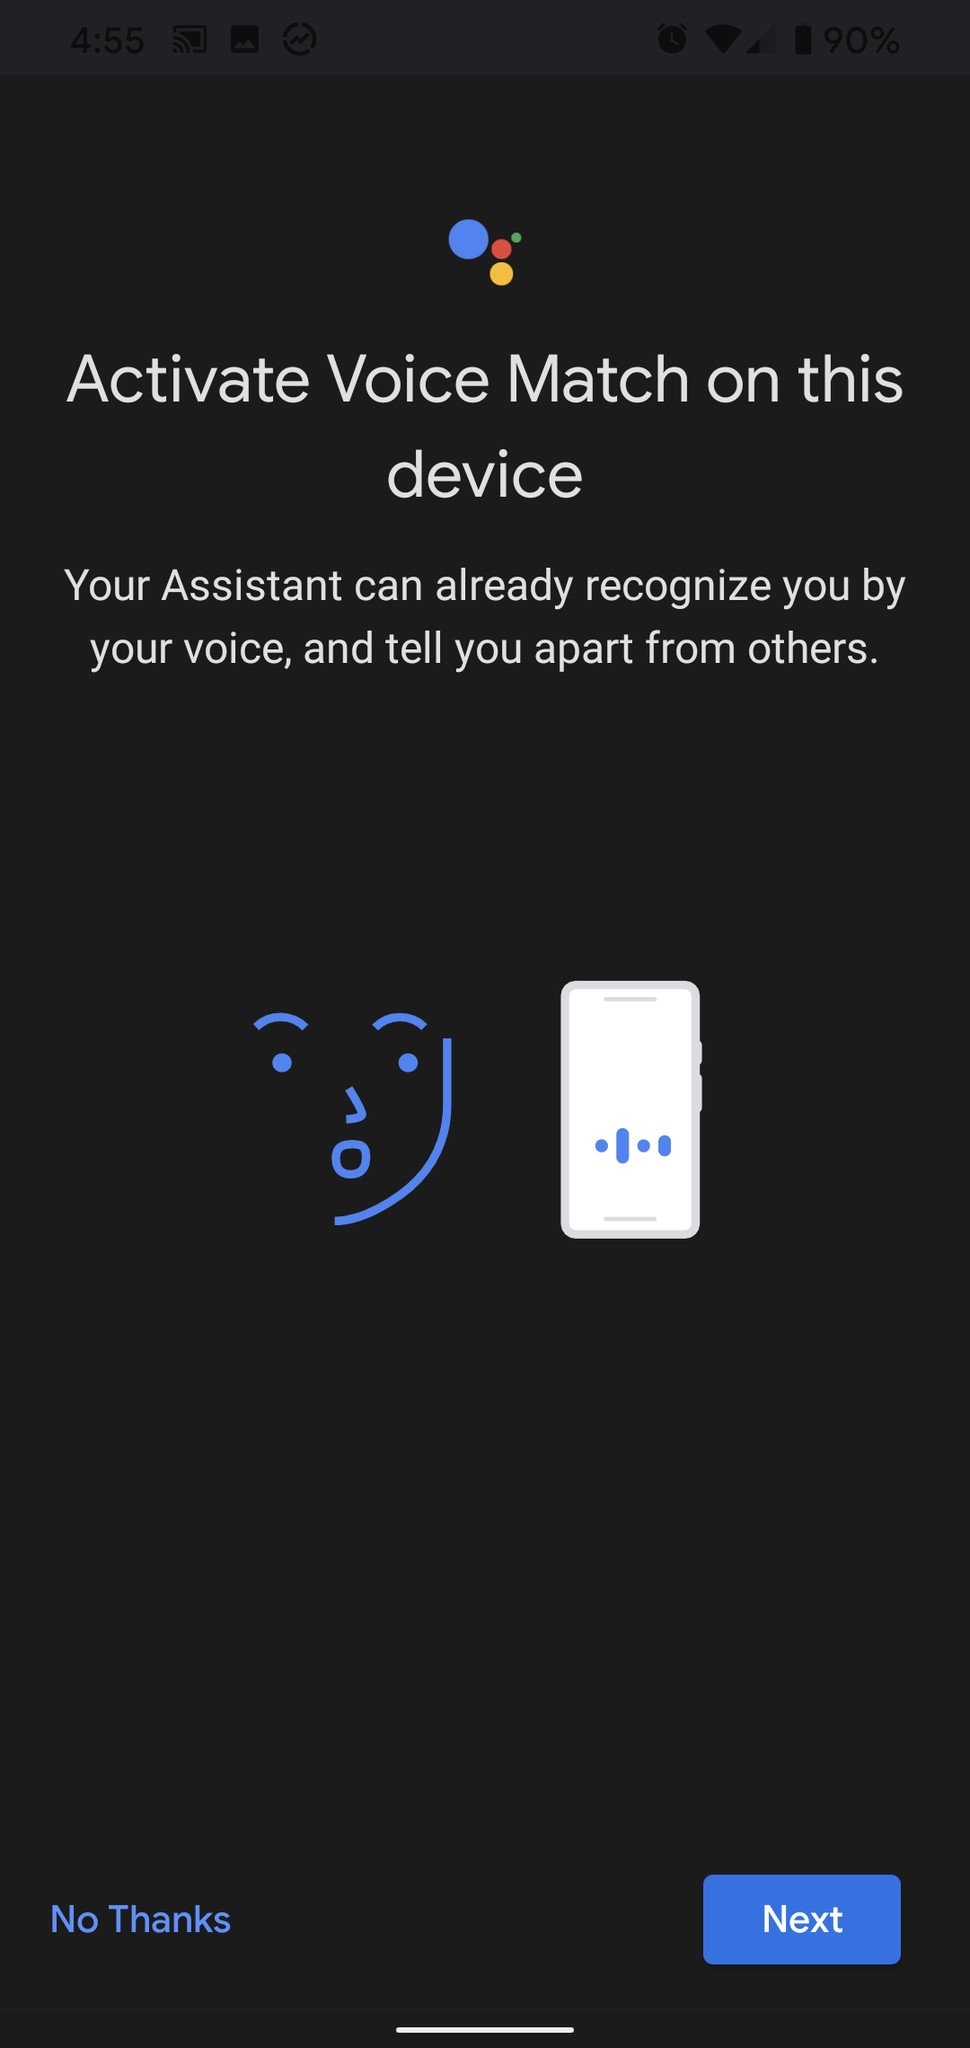
- To activate Voice Match — a prerequisite for personal results — tap Next. If you don't want Voice Match on, tap No Thanks.
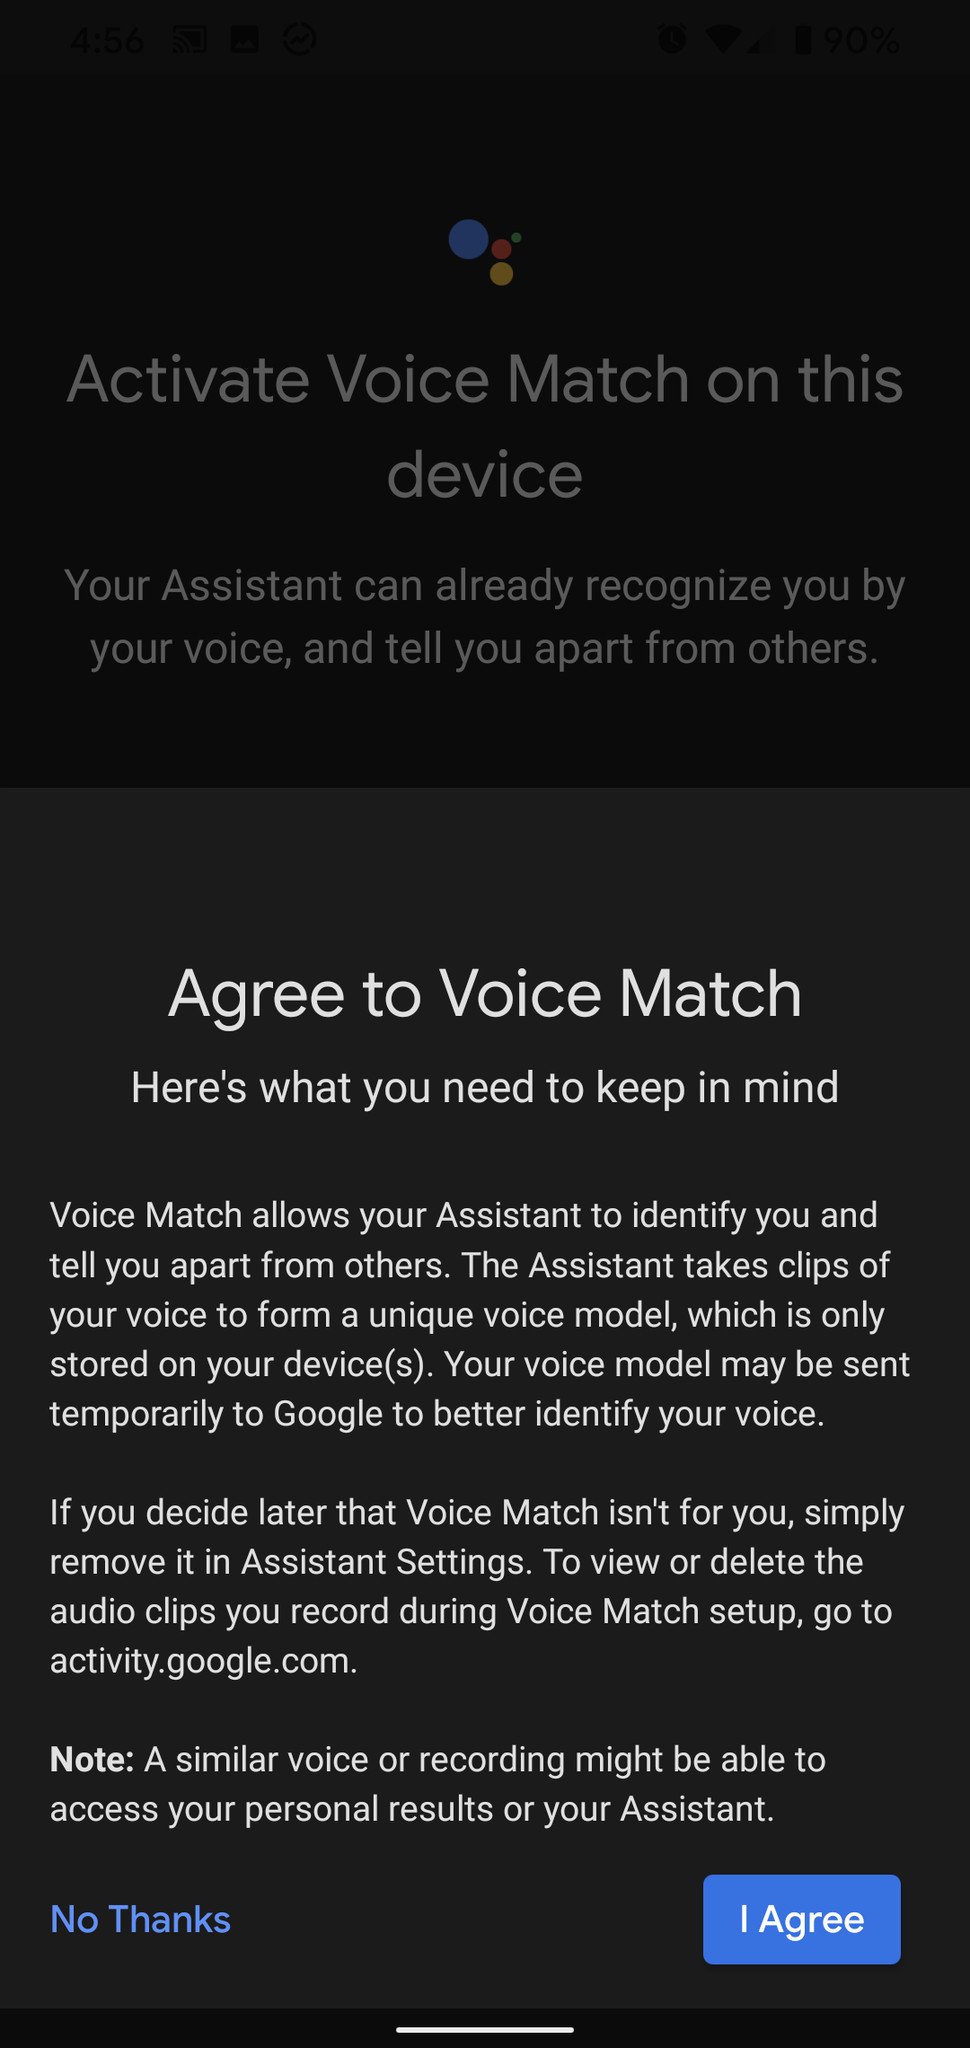
- To agree to Google creating a voice model for Voice Match, tap I Agree.
-
If Google Assistant already recognizes your voice, you won't have to do anything else for Voice Match. If it doesn't have a voice model for you, you'll need to say "OK Google" and "Hey Google" to it a couple of times as prompted to give it a starting sample.
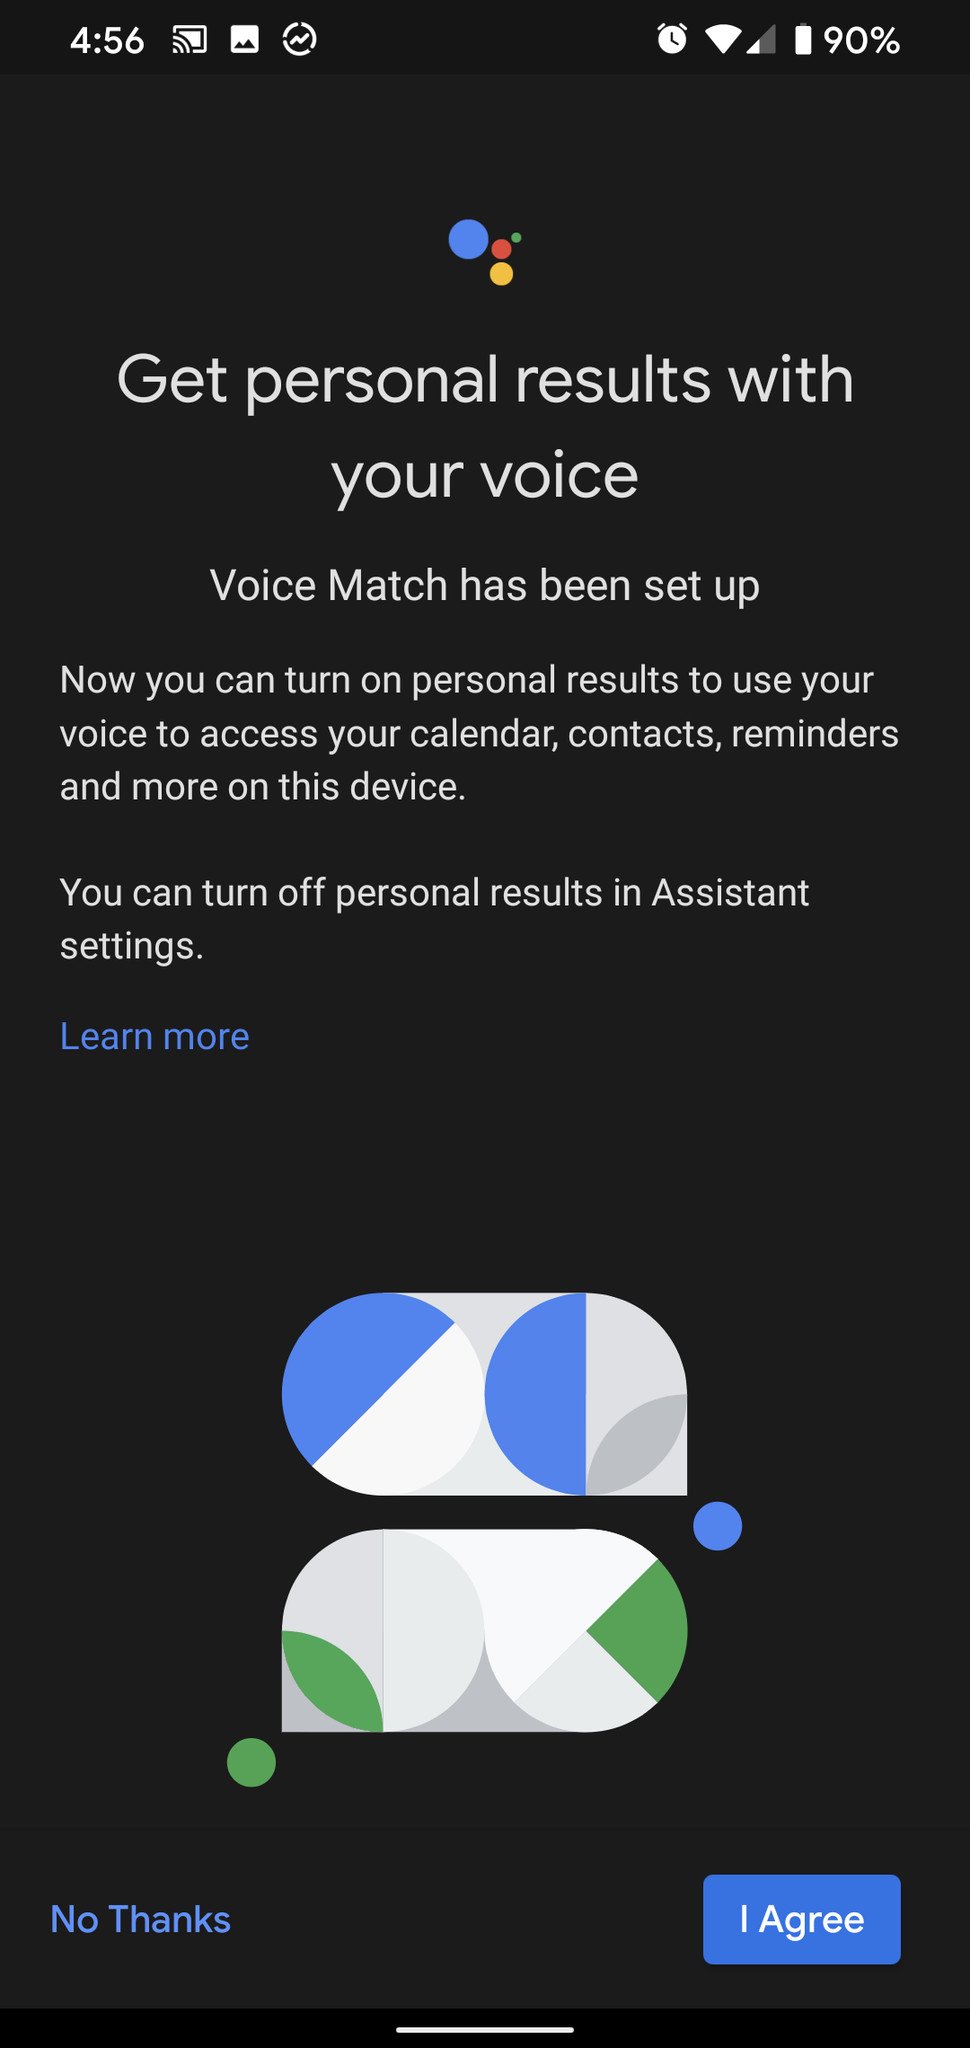
- To get personal results via Voice Match on your Google Assistant, tap I agree. If you don't want personal results turned on, tap No Thanks.
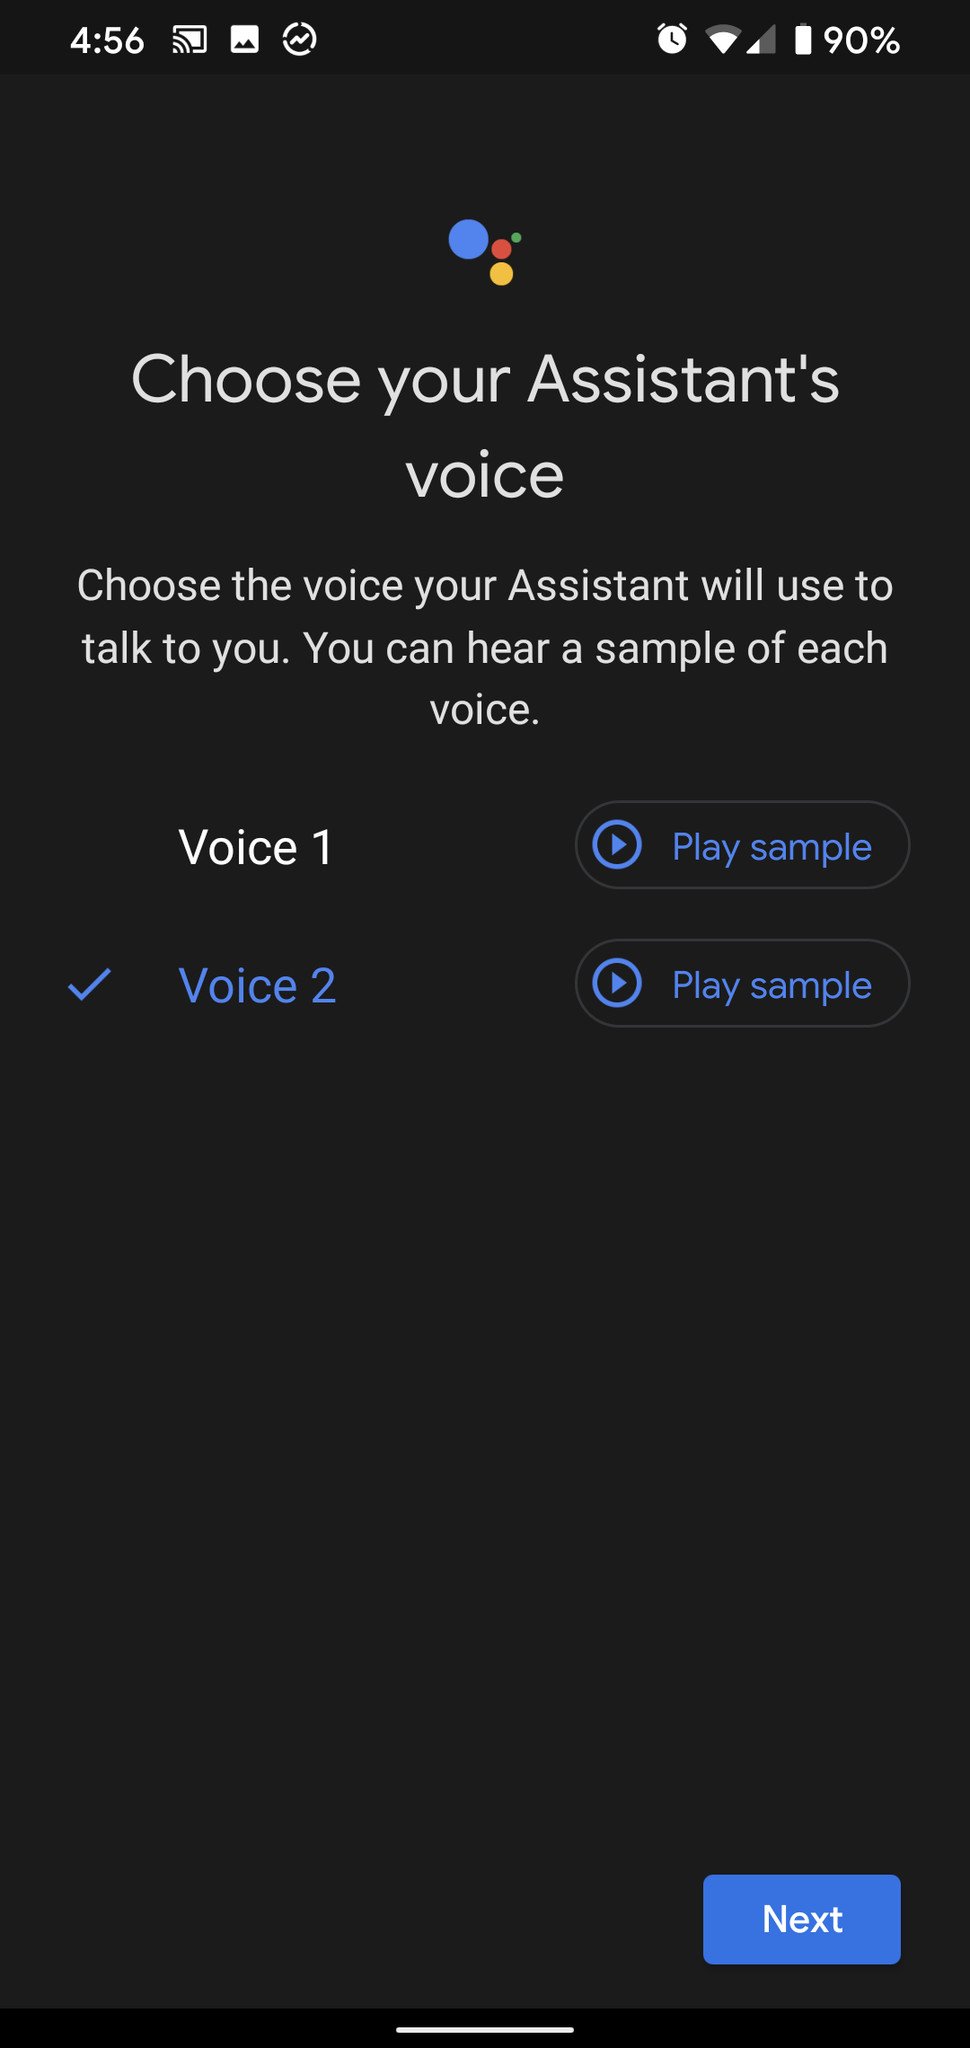
- Tap the Assistant voice you prefer. You can tap the samples to play them and judge them.
- Tap Next.
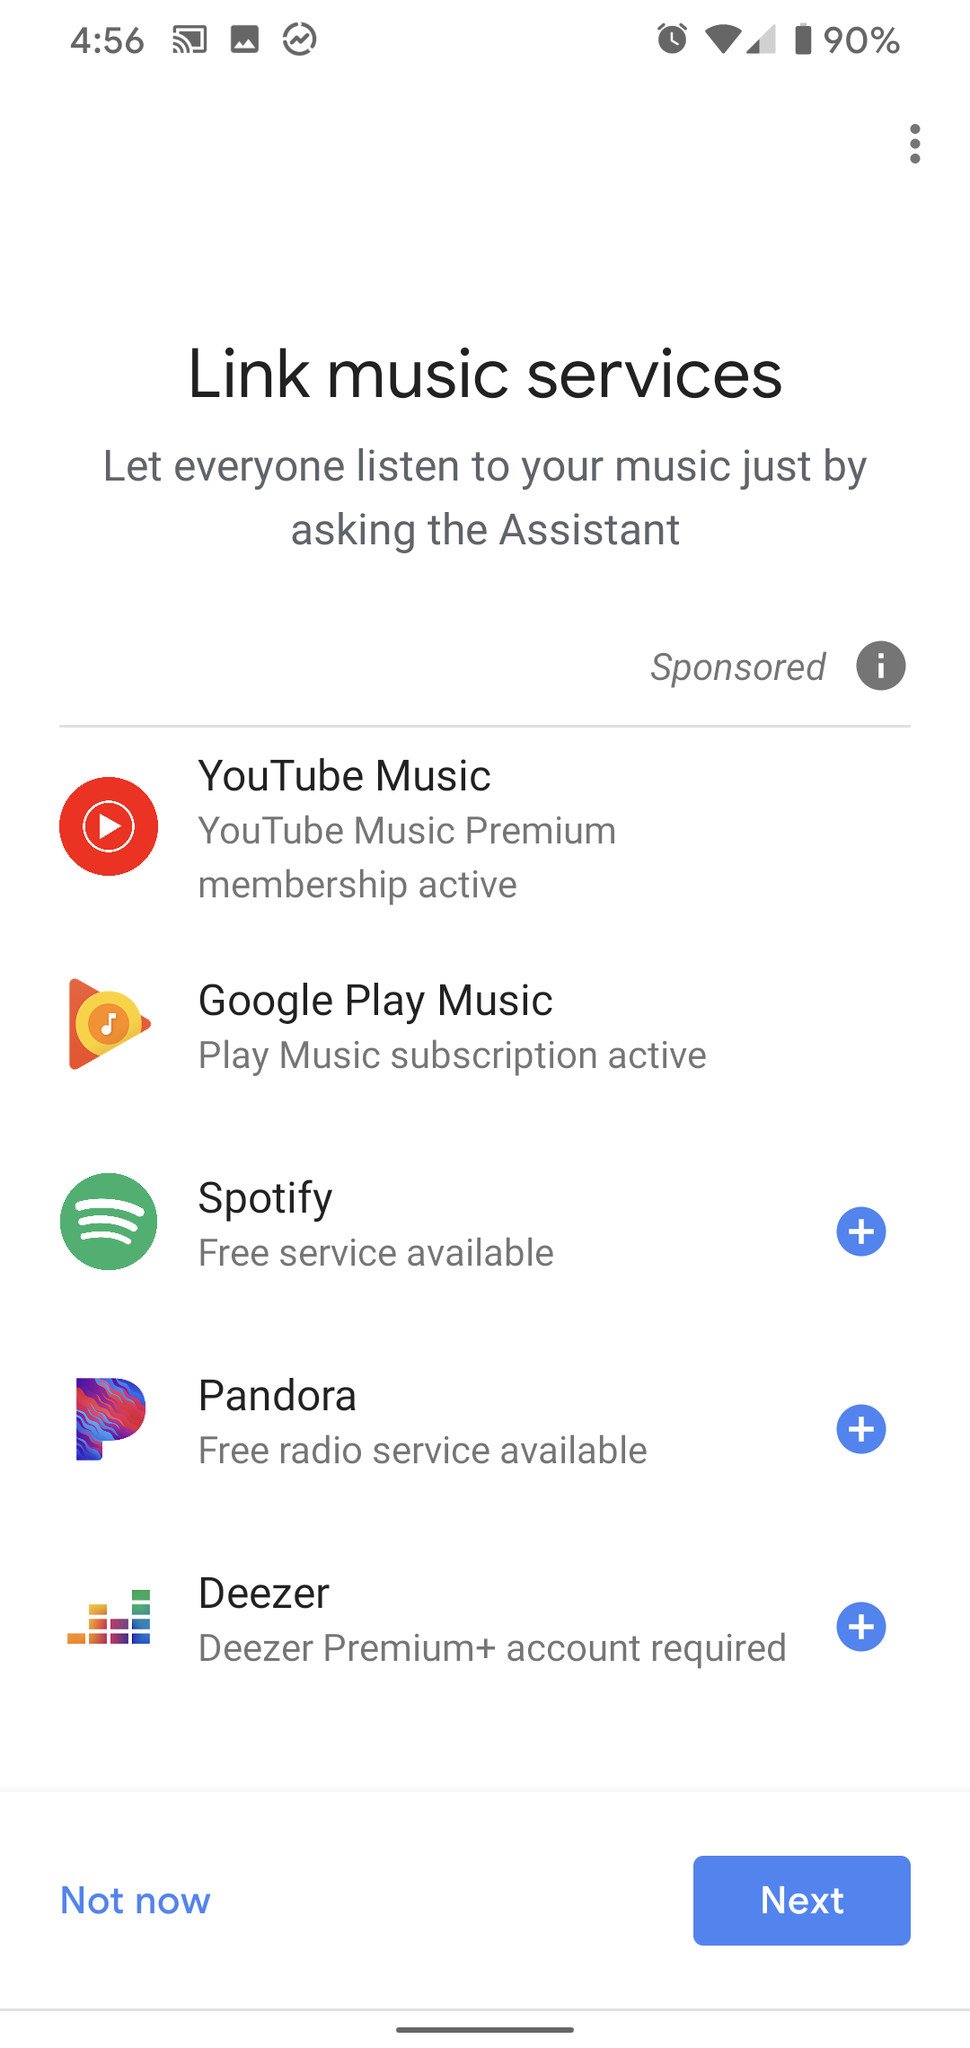
- Link music services in order for Google Assistant to serve up music from the services you use and/or pay for. Tap the + next to the service you want to add, then log in with your account information.
-
Once the accounts you have are linked, tap Next.
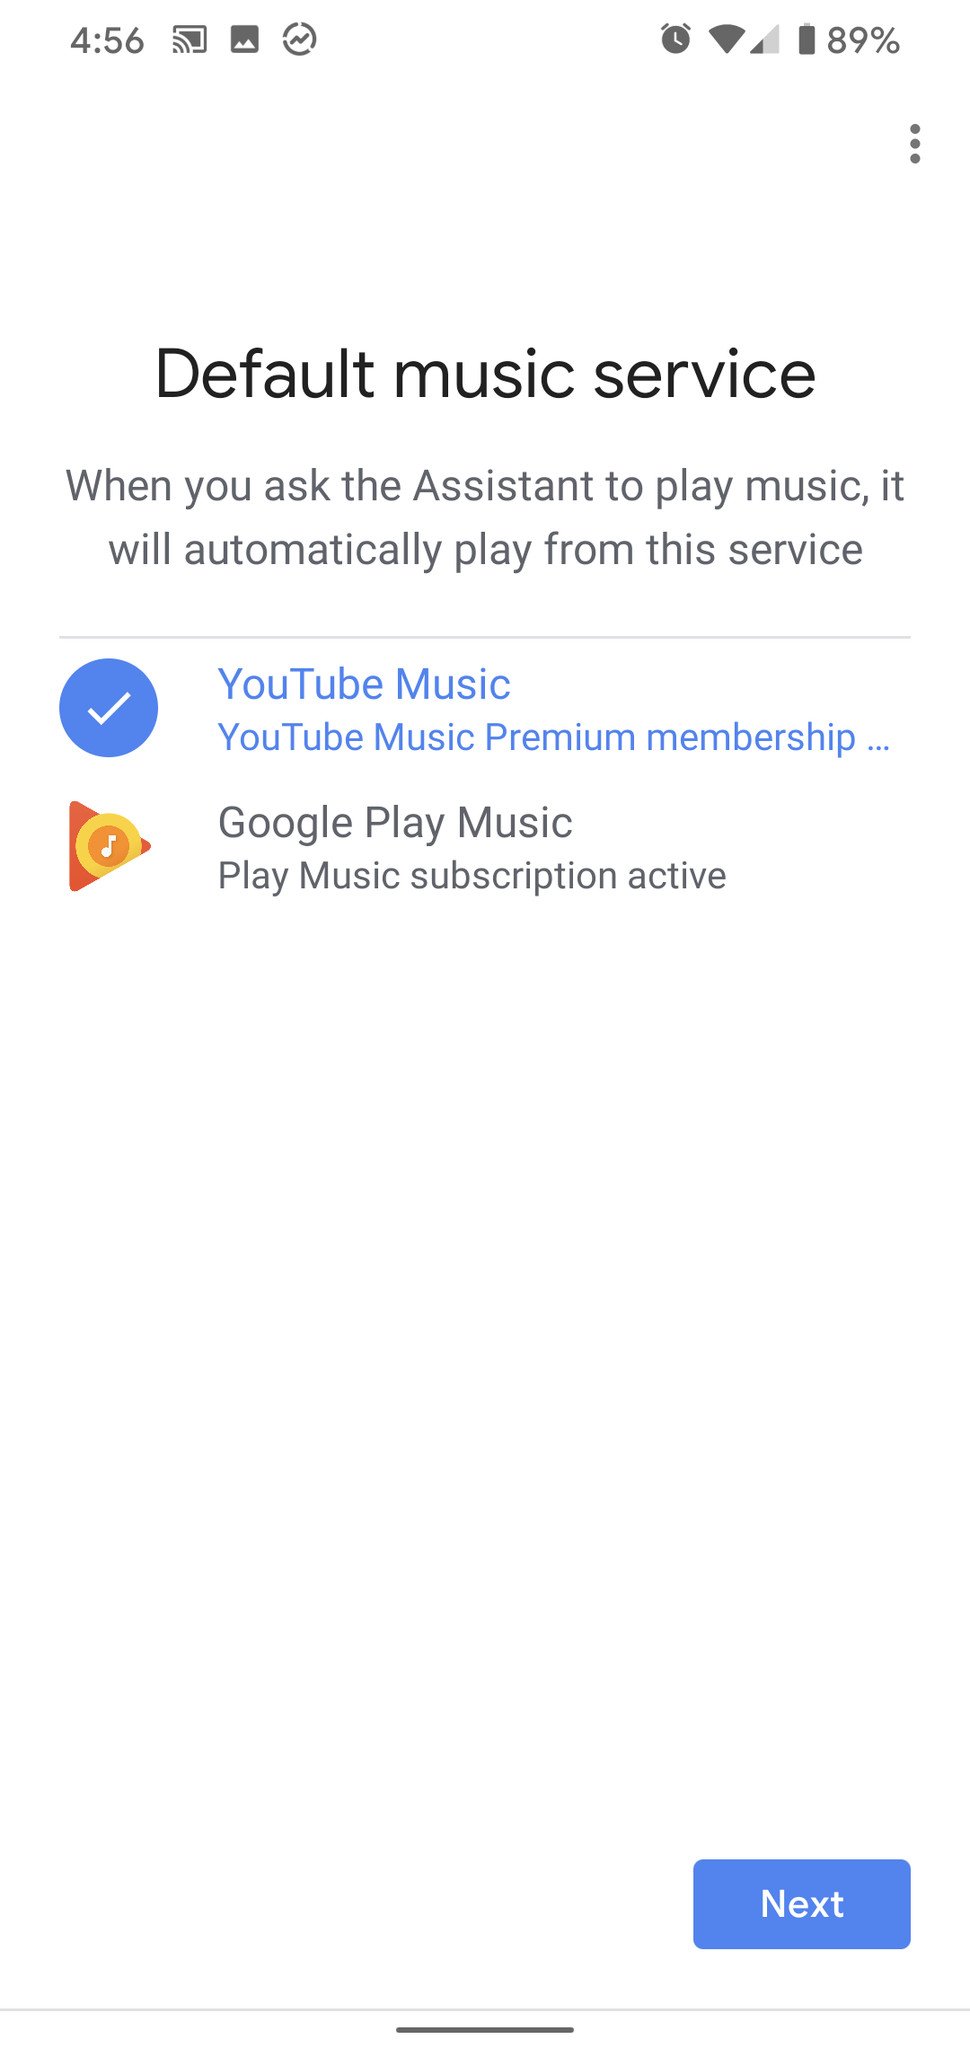
- Tap the music service you want as the default. The default will have blue text and a check mark where the service logo is.
- Tap Next.
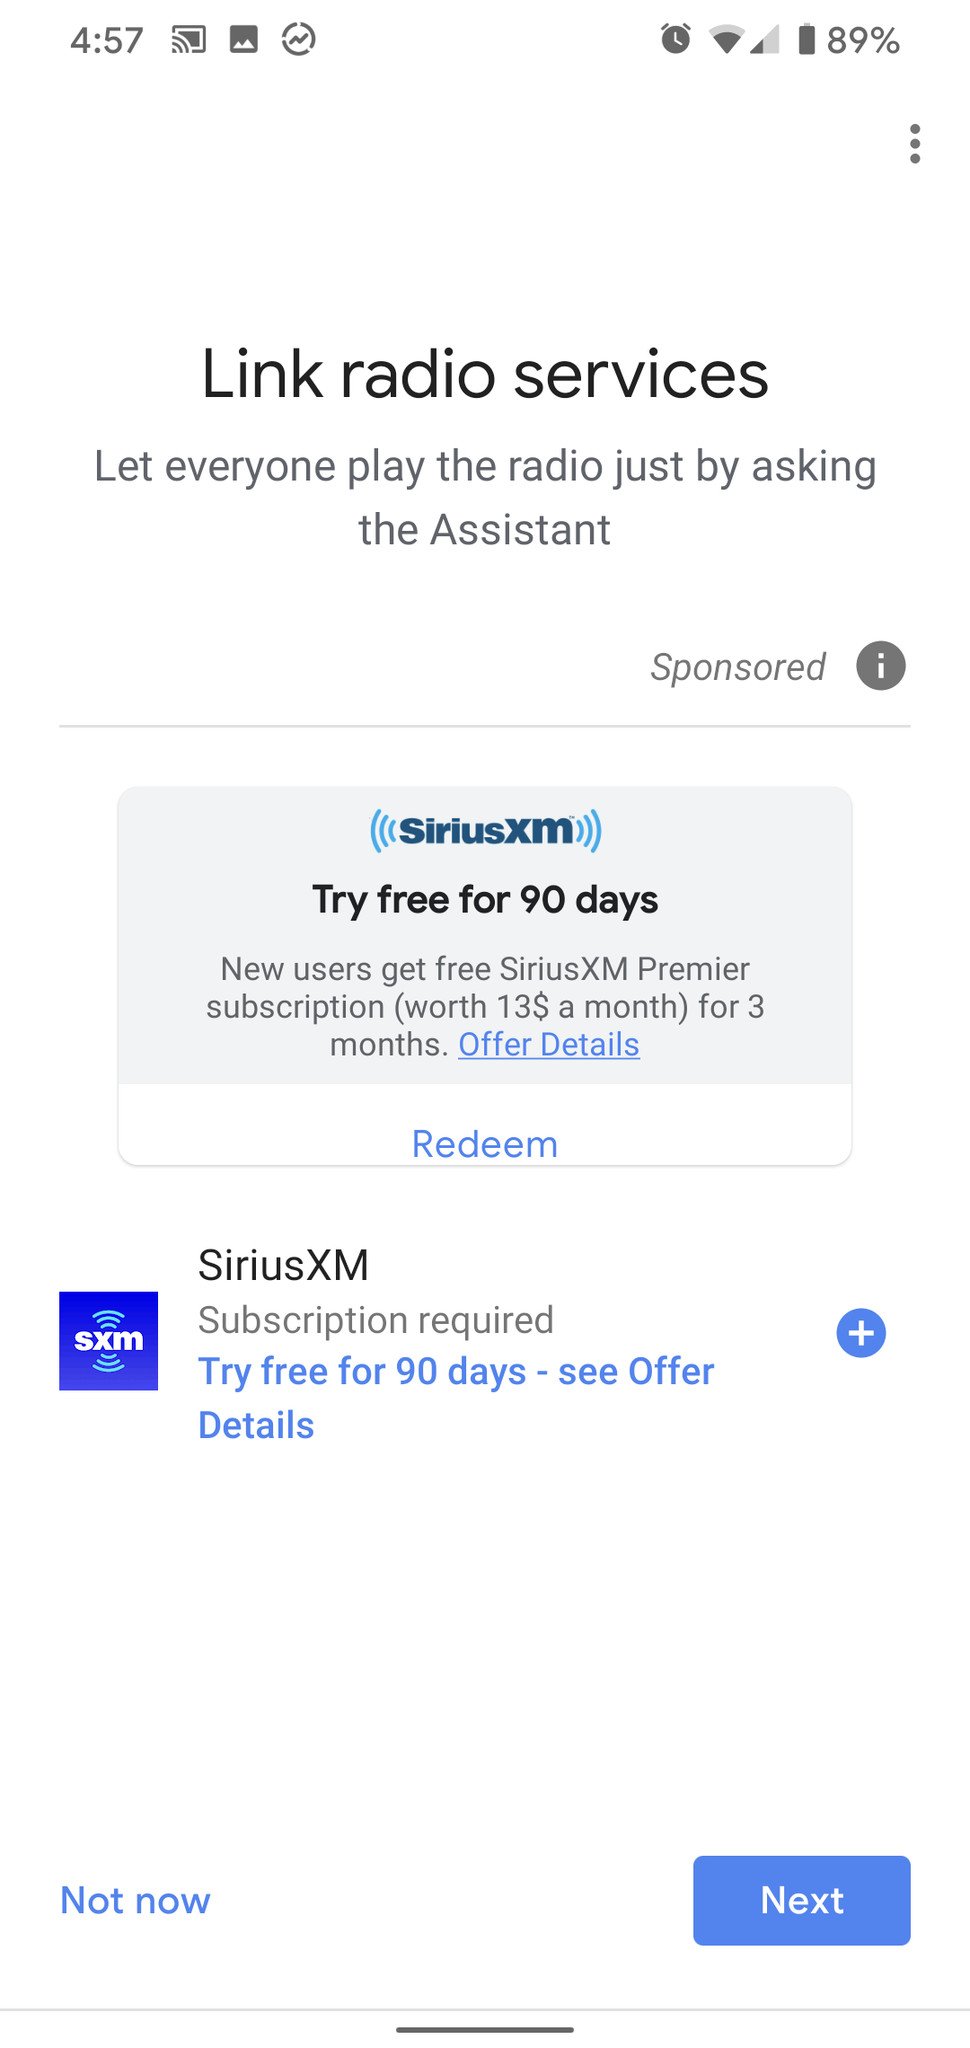
- You can also link radio services. Tap the + next to the service you want to add, then log in with your account information.
- Once the accounts you have are linked, tap Next.
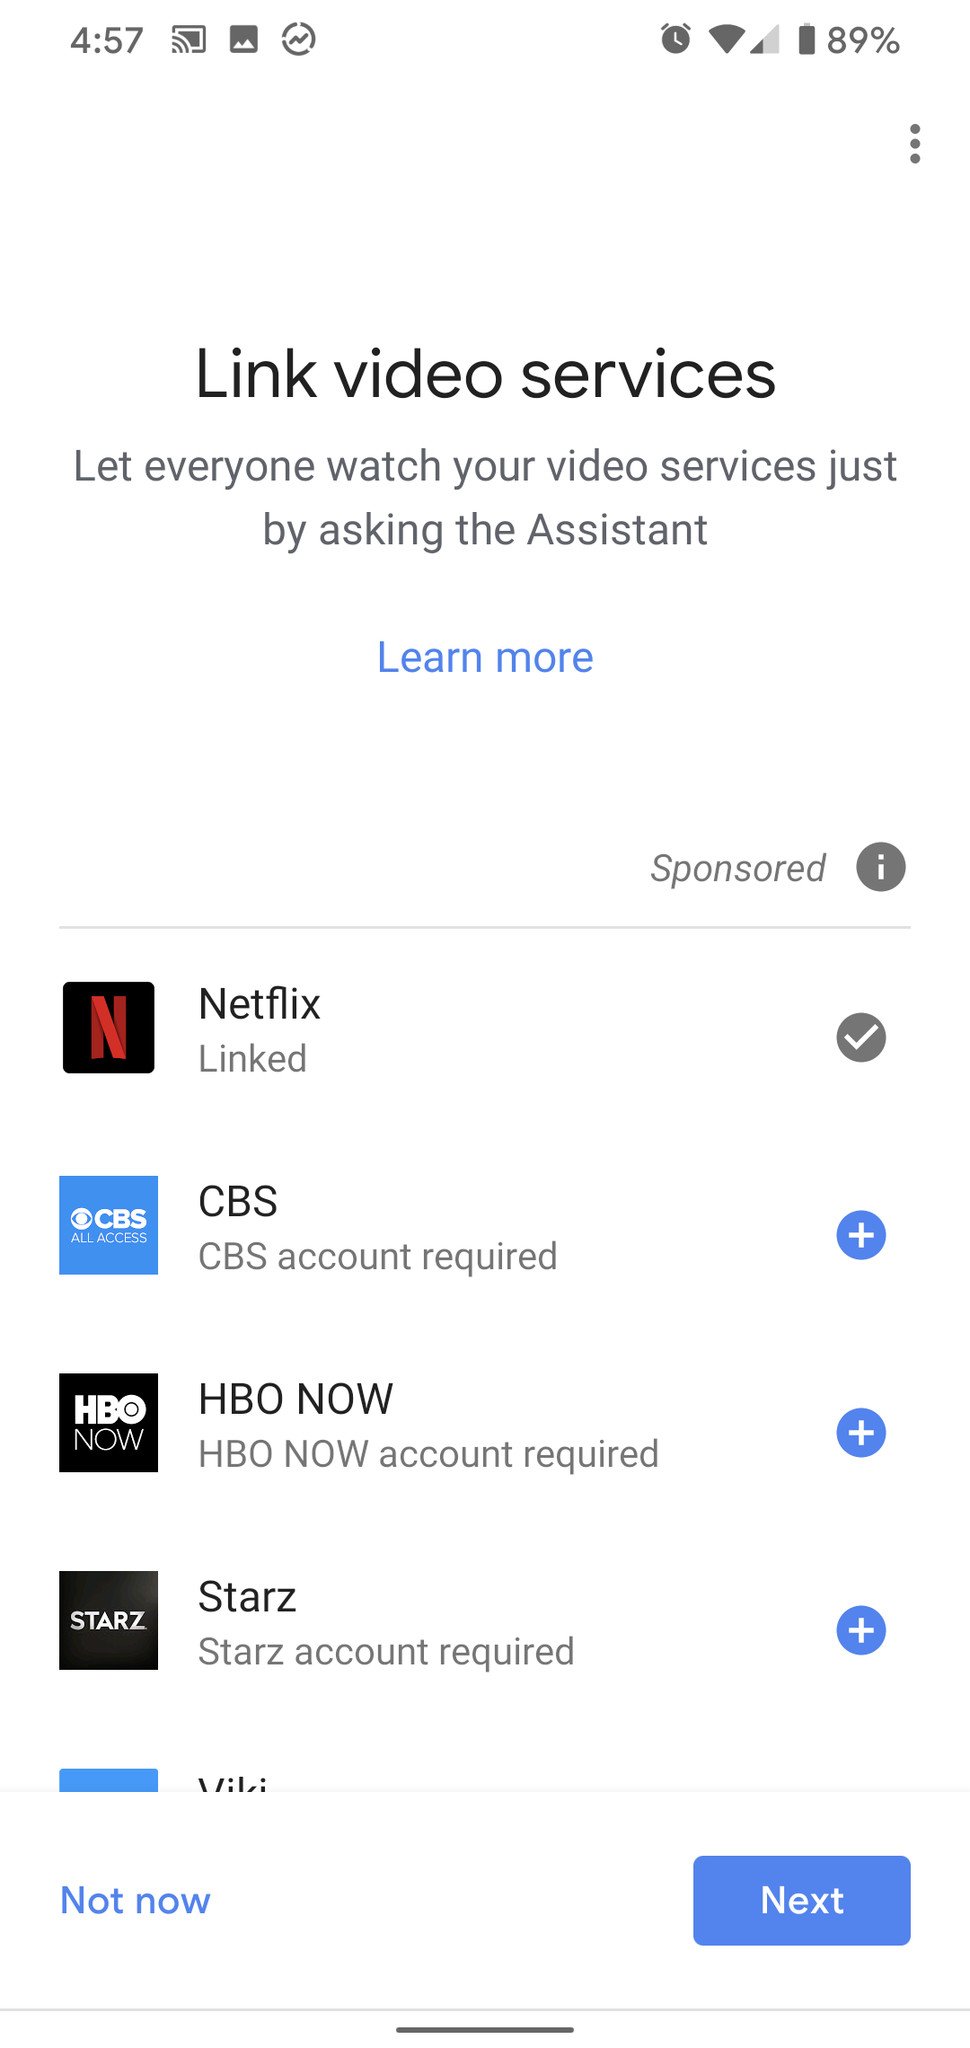
- You can link video services as well in order to have Google Assistant queue up the next episode of your favorite shows on the closest Chromecast-enabled TV. Tap the + next to the service you want to add, then log in with your account information.
-
Once the accounts you have are linked, tap Next.
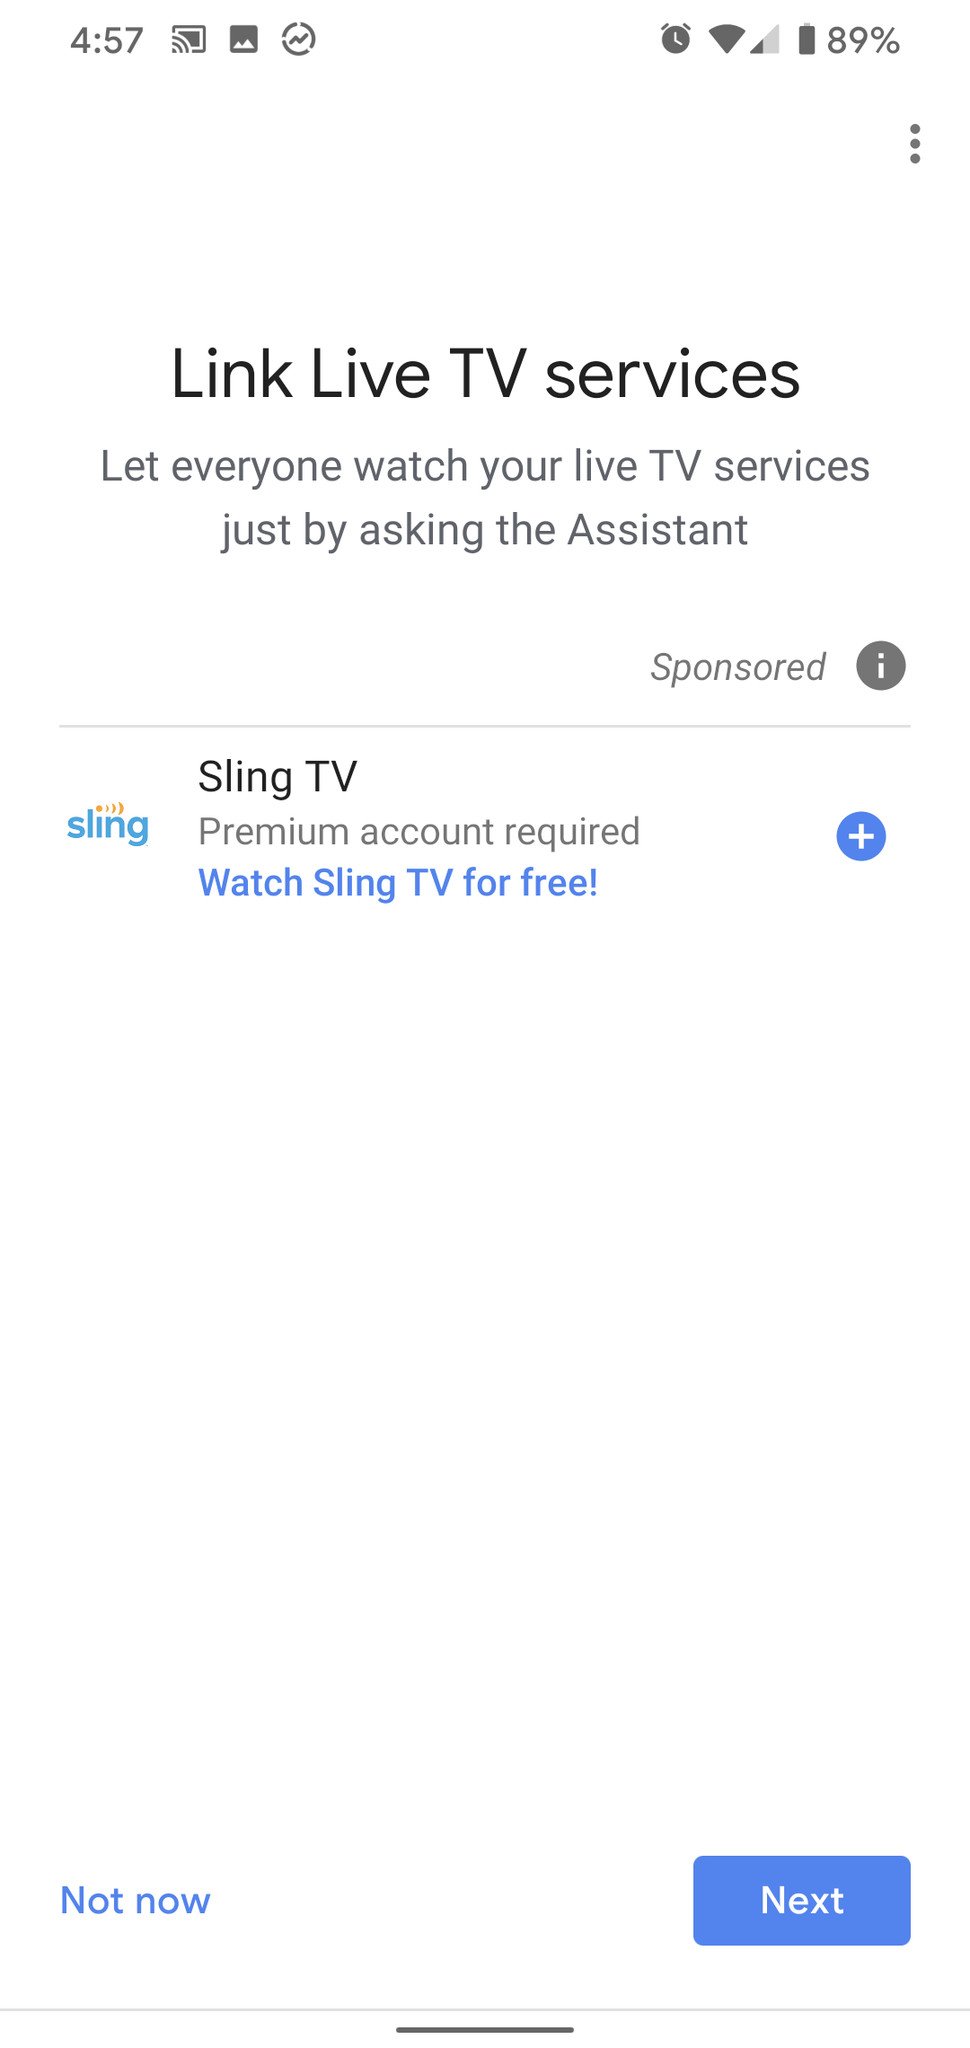
- You can also link live TV services. Tap the + next to the service you want to add, then log in with your account information.
- Once the accounts you have are linked, tap Next.
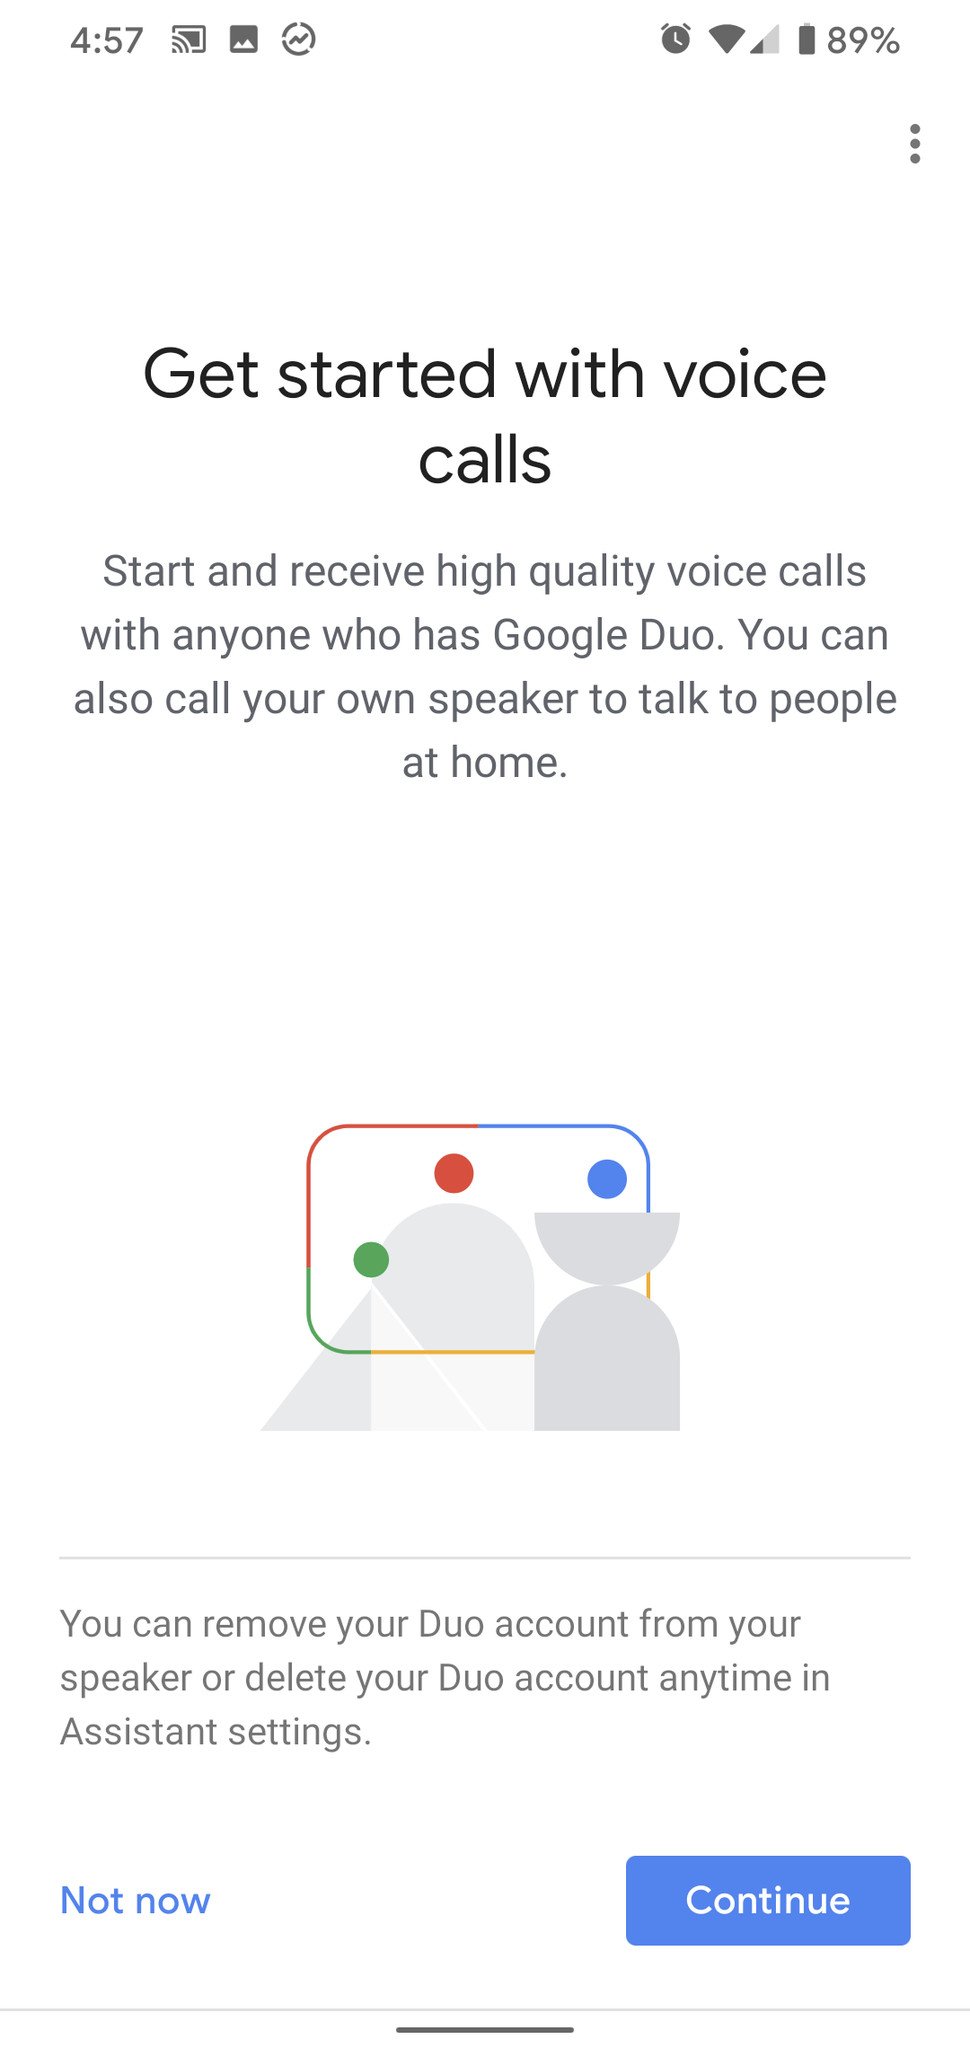
- If you want to make or receive voice calls via Google Duo on your Google Assistant, tap Continue. If you don't, tap Not now.
-
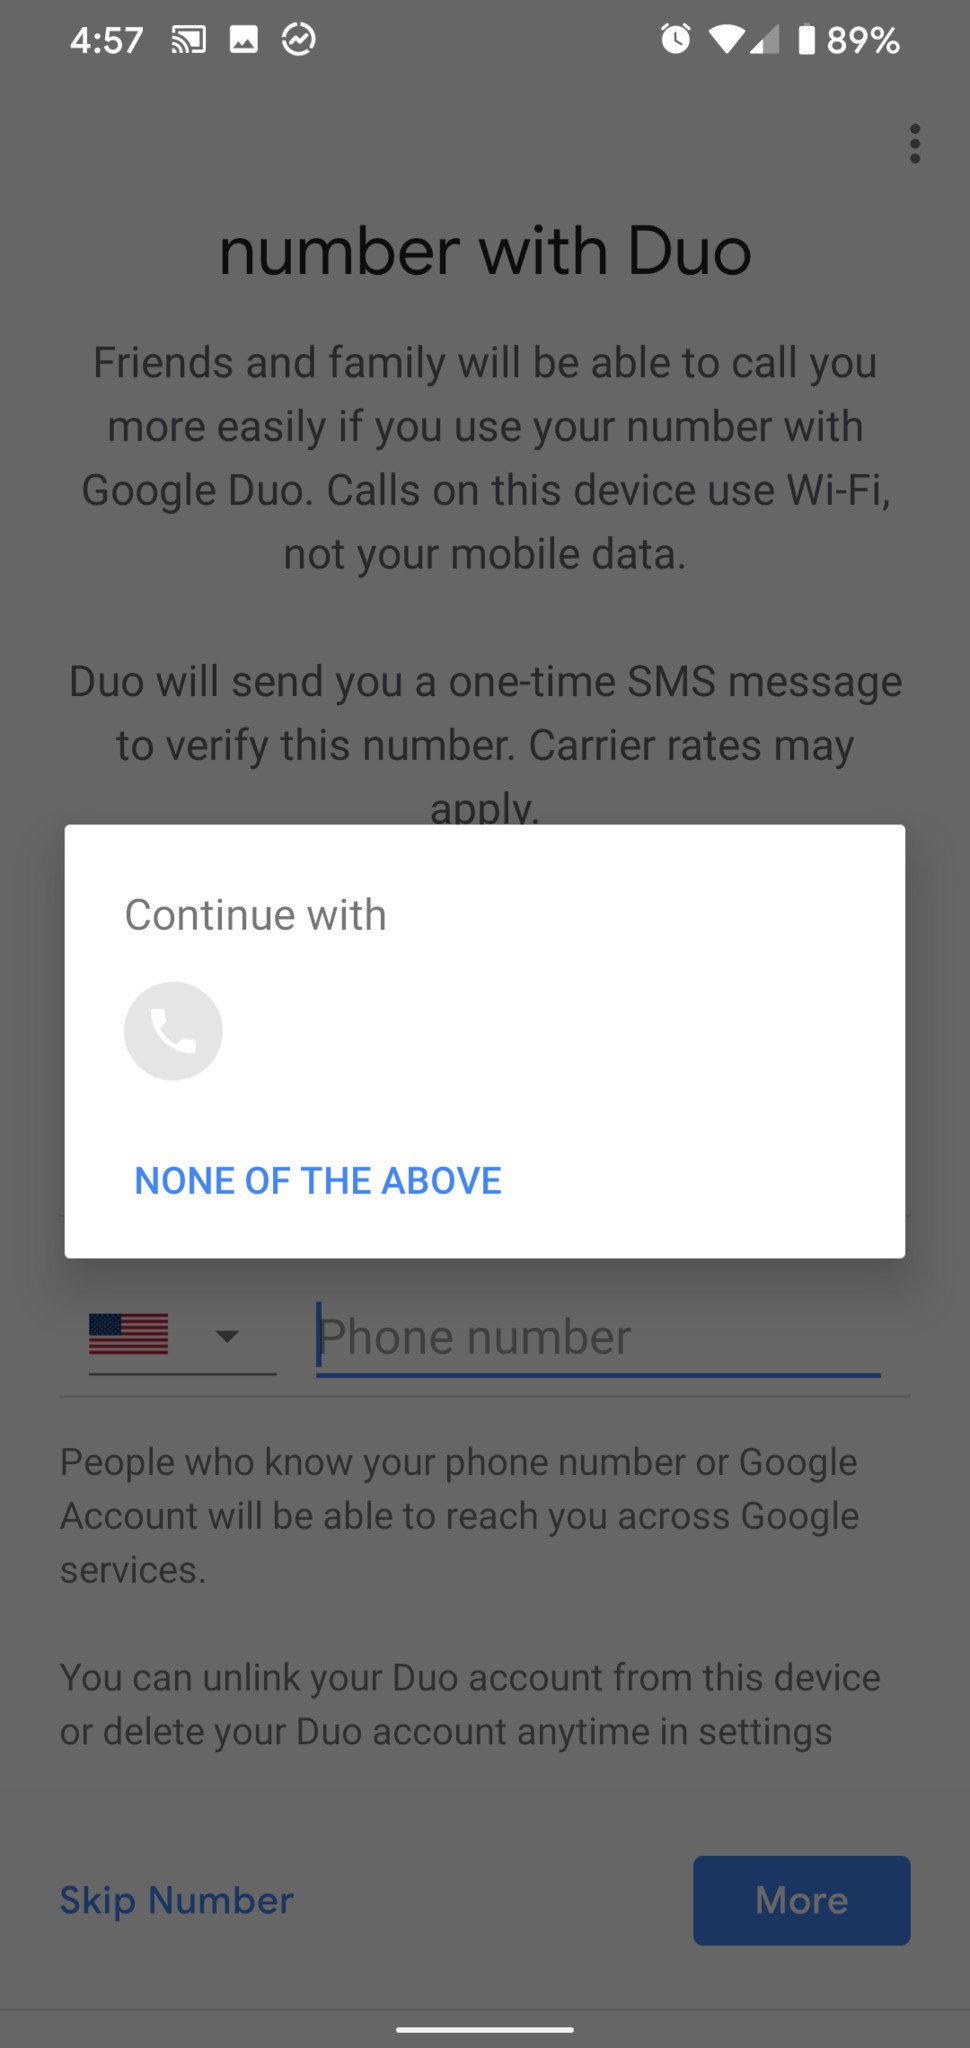
Tap your phone number.
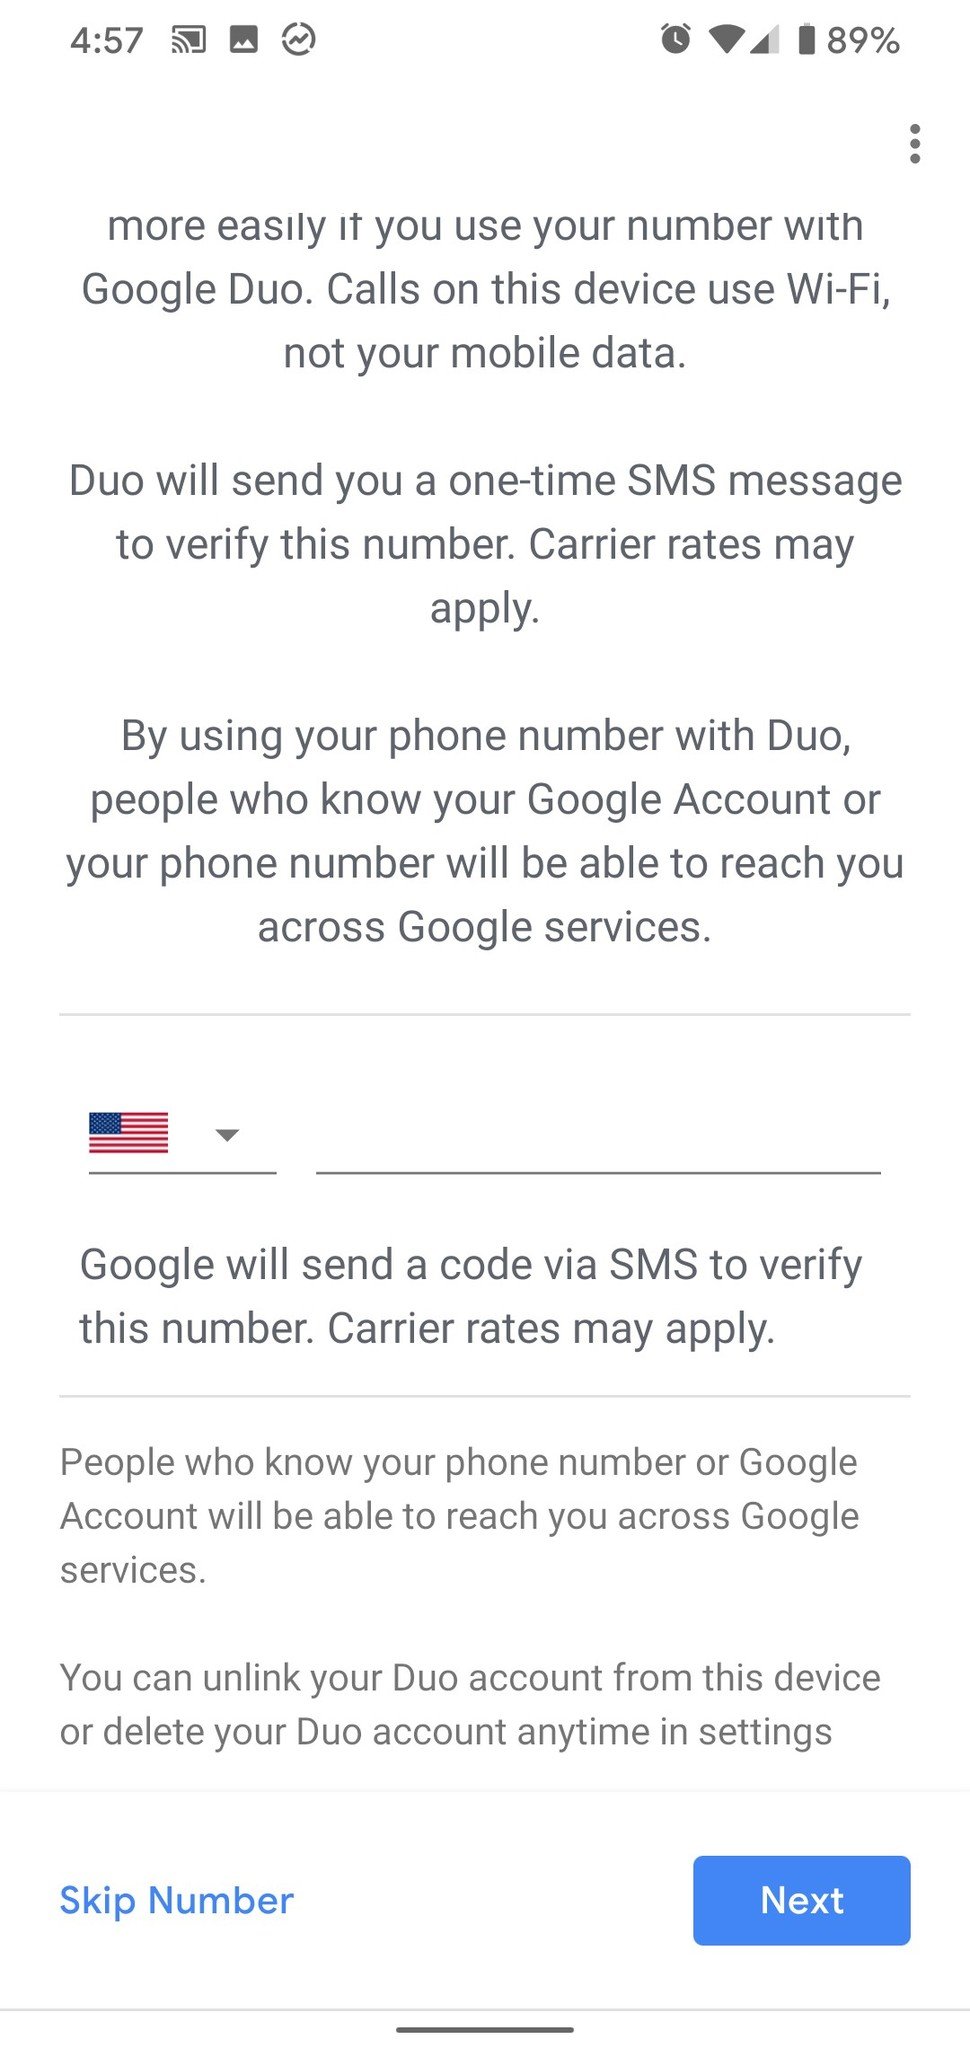
- To confirm your number, tap Next.
-
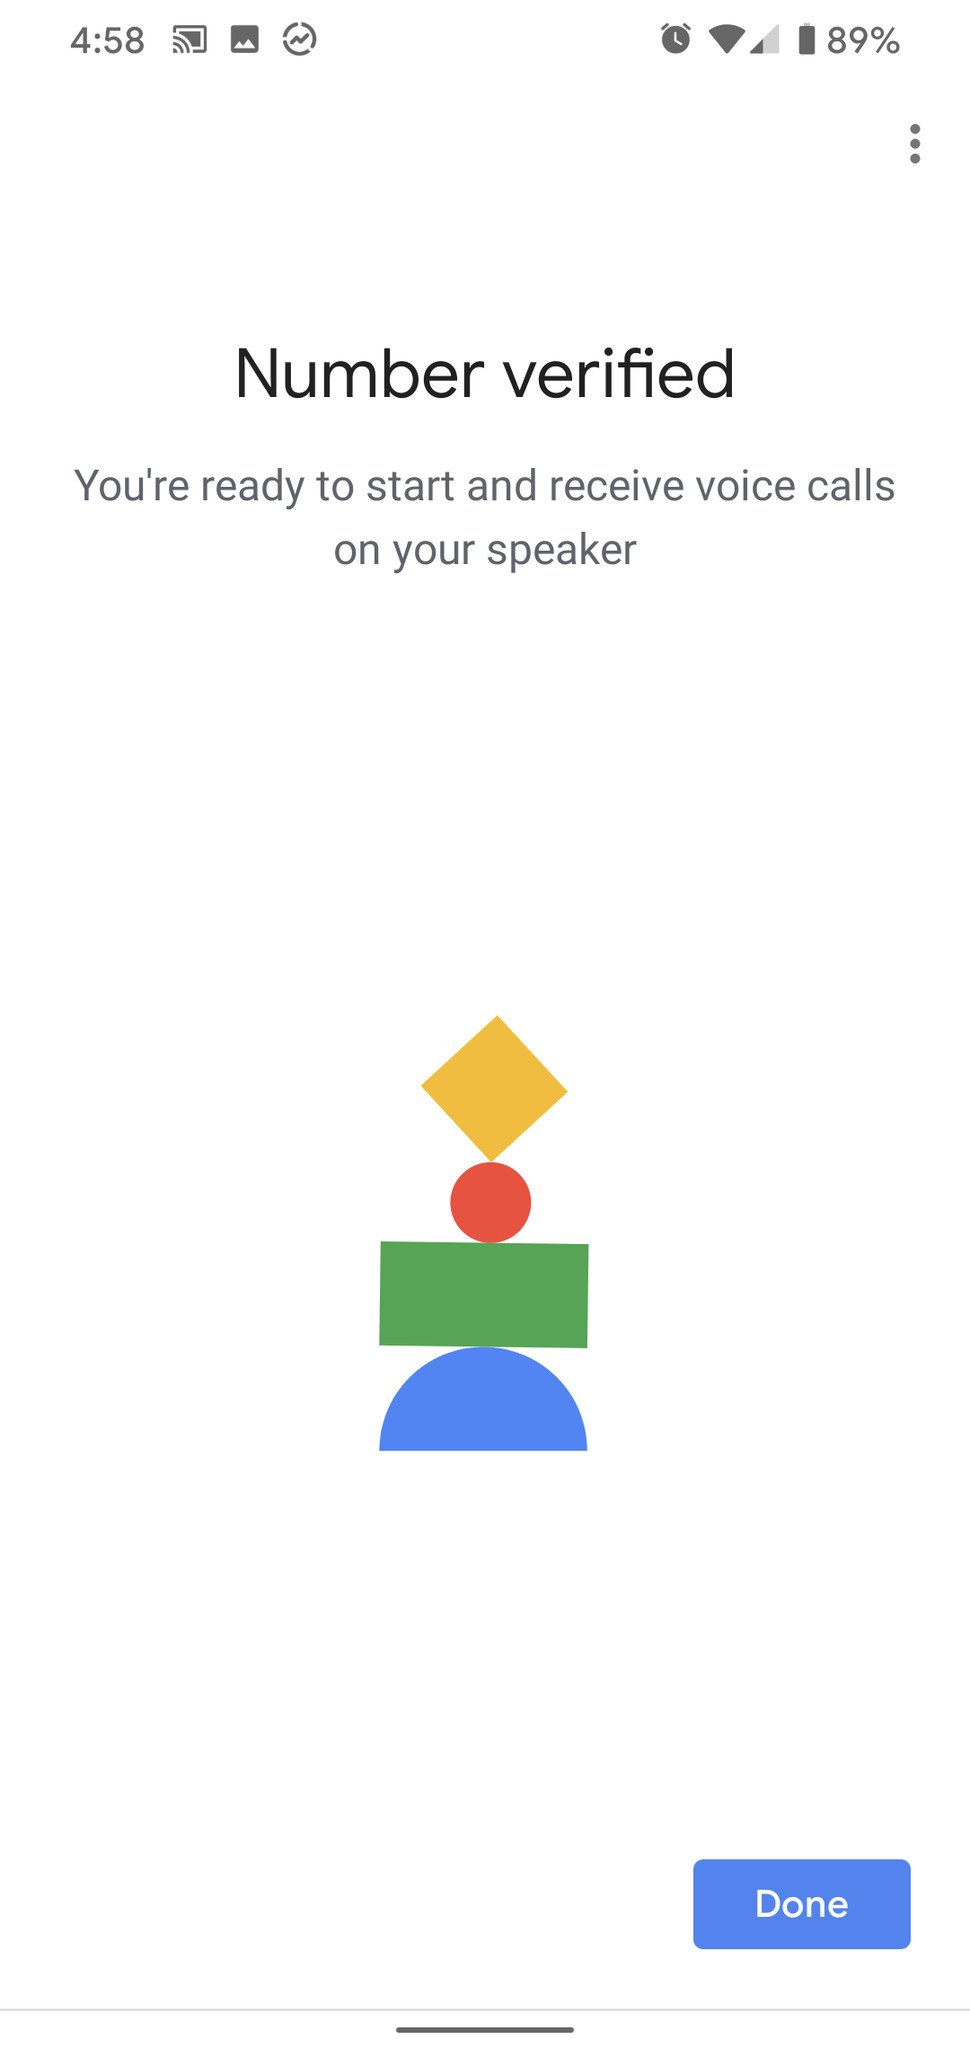
Google will send a verification code to your phone number, automatically. Tap Done once the verification is complete.
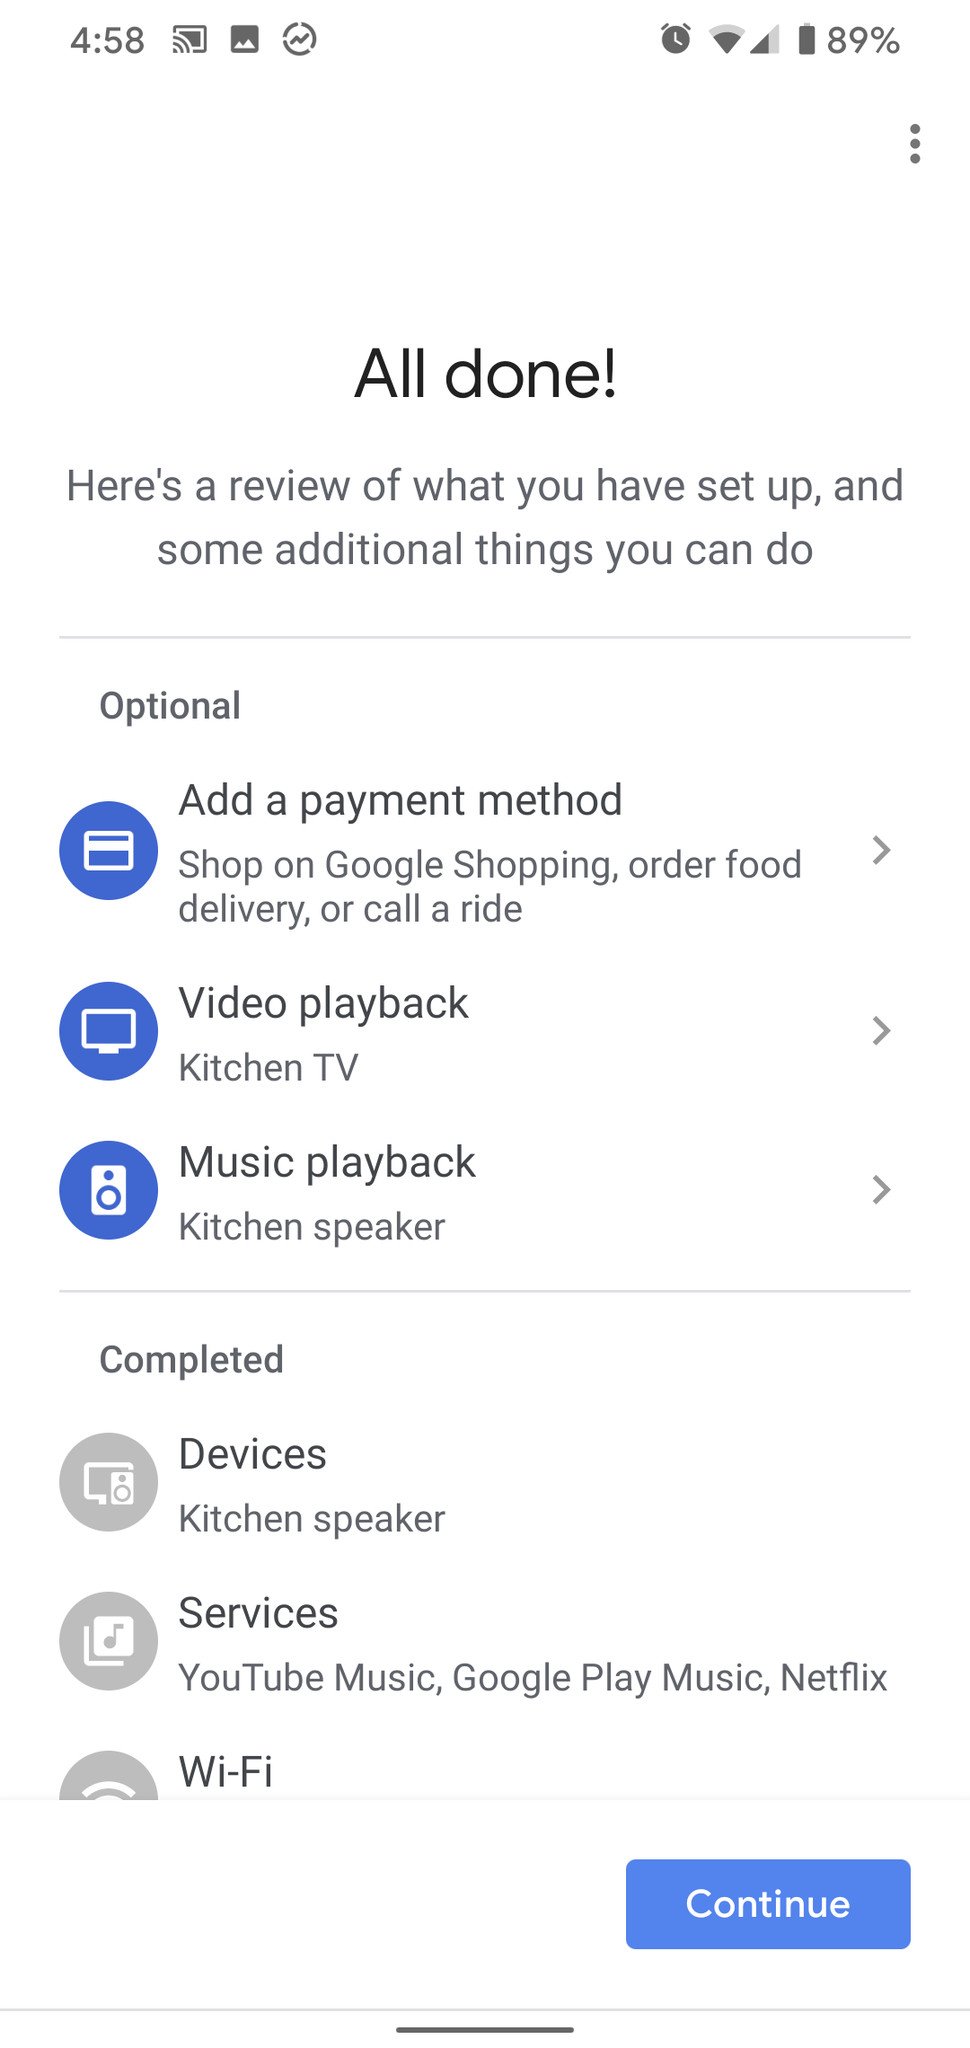
Your Google Assistant speaker is all set up! From this finishing screen you can check your current settings, add some add a payment method for buying things via Google Assistant. Now, it's time to actually use your new smart speaker — but on what? Will you cast your music, or let Google take you on an audio adventure? Will you use it to whip up something yummy in the kitchen, or use it to just order in for the night? Create some custom Google Assistant Routines in order to make turning down for the night or getting up in the morning a breeze!
from Android Central - Android Forums, News, Reviews, Help and Android Wallpapers https://ift.tt/2HJwZDx
via IFTTT

Aucun commentaire:
Enregistrer un commentaire